Quick Context
Immediate picture
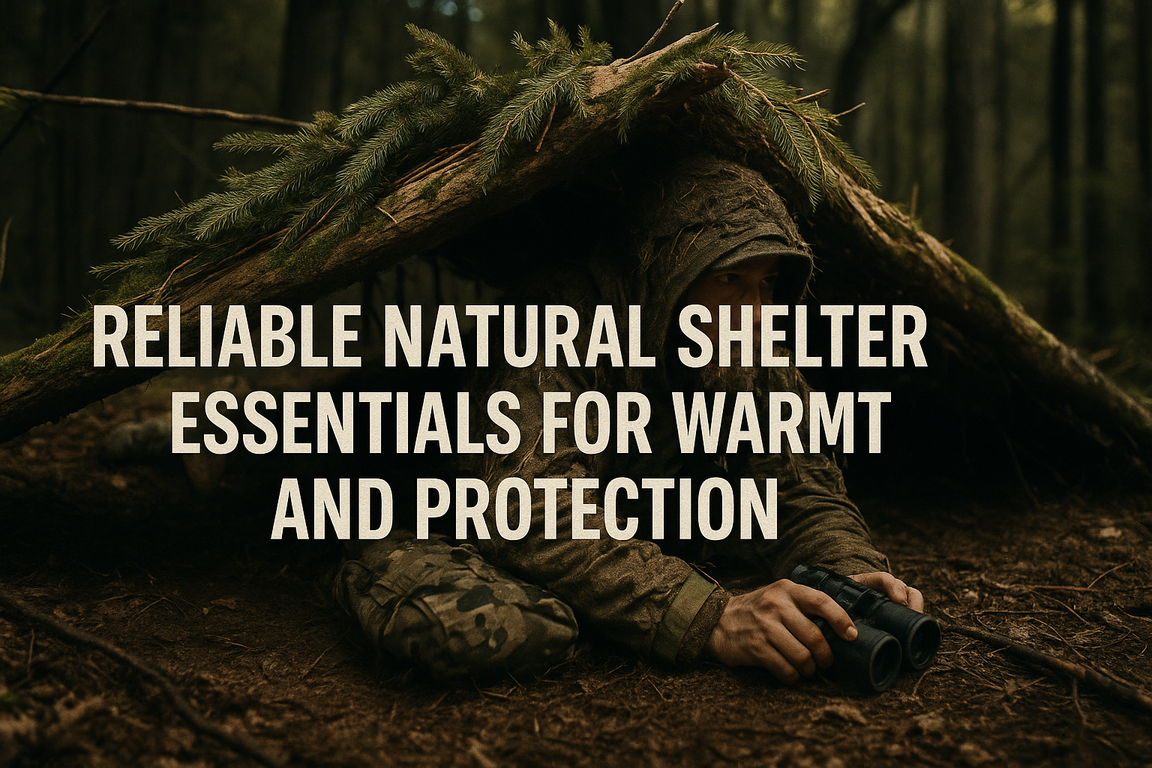
Reliable shelter from natural materials is not a romantic project. It is a problem set with clear requirements. Keep water off your body. Get your body off the ground. Block wind. Capture and manage heat. Everything you do supports these four points.
If you have nothing but clothing and a cutting edge, you can still sleep dry and warm enough to function the next day. The key is site selection, smart structure, and enough insulation. Beauty does not matter. Durability and function do.
Start from the ground up. Ground steals heat through conduction. If you only have energy for one task, build a thick bed of dry material before you raise any roof. Think in hand widths. You want a mattress at least a hand and a half thick when compressed, two is better. Dry leaves, grass, pine needles, fern, bracken, or cattail fluff work well. If it crackles, it insulates. If it bends and feels damp, it steals heat.
Next is a roof with a steep angle and enough mass to shed water and resist wind. Steeper is better for shedding rain and snow. Aim for forty five degrees or more. Put the thick ends of thatch or boughs down and point the tips to the sky. Overlap like shingles. Think fish scales not shingles on a flat wall.
What most miss
Most people underbuild the bed and overbuild the frame. They forget that a small warm shell beats a tall cold palace. They set up in a pretty spot that floods at four in the morning. They choose green wood and bend heavy beams into place, then watch them spring apart when a gust hits at night. Or they use rotten deadfall that snaps when loaded. Reliability comes from reading the ground, choosing the right timber, and building in a sequence that stacks strength with minimal energy burned.
Microclimate matters. Cold sinks into low spots. Air drains downhill at night. Wind accelerates through gaps. Insects and rot love hollows and dense shade. The best sites are slight rises with firm soil, natural windbreaks, no widowmakers above, and nearby dry litter for insulation. Water sources are handy, but do not sleep at the edge. Stay back on ground that shows no water flow channels.
Field note. A shelter that looks small is often the right size. Heat a small volume well and you sleep. Heat a large volume poorly and you shiver.
Threat Picture You Can Use
Urban risks
In towns and cities you face cuts, contamination, and eyes on you. Broken glass, sharp metal, and chemical residues are common. Open lots and alleys funnel wind. Hard surfaces strip heat and reflect cold. Noise hides danger until it is close. Human presence can shift fast from indifferent to aggressive if your build is visible.
Natural materials exist in cities, but you must be selective. Parks, medians, tree lines near rail, and storm corridors hold downed limbs, leaf litter, reeds, and tall grass. Avoid drainage ditches and obvious runoff channels for insulation material. If there is a smell of fuel or solvent, move on. Rinse your hands if you can.
Your shelter should look like nothing. Low profile, built under shrub canopies, backed against living hedges or embankments, and never on a skyline. Even in a park, keep it off paths and out of sightlines. No reflective trash. No straight lines that catch the eye. Use shadows and existing textures.
Fire is a last resort in the urban core unless you can mask light and scent. A small candle grade flame behind a reflector can warm hands and dry socks, but plan to heat your body with insulation first. If you must choose, spend calories on bedding and a tight roof rather than a fire you cannot safely use.
Small town risks
On the edge of small towns you trade human risk for exposure. Open fields channel wind. Treelines creak and shed limbs in gusts. Property lines can bring unwanted contact. Stray dogs investigate. Response times are slow. The good news is that natural materials are abundant. The bad news is that you may have to move farther with weight.
Use hedgerows and woodlots as material banks and windbreaks. Look for sun traps on the lee side of stone walls and brush piles. Stay out from under dead oaks and cottonwoods with large hanging limbs. In farm country, drainage is engineered. Water can move faster than it looks, and flat spots can turn to shallow ponds with a short storm. Pick high spots with grass that bends away from your site, not toward it. That shows the usual wind direction.
Core Skills That Scale
Observation
Observation pays you back more than any single tool. Train your eye to see four things at once. Sky, canopy, ground, and the near field around your hands.
- Sky. Read cloud layers and movement. If you see low fast scud under slow higher cloud, wind is building. Lower your profile and add mass to the roof.
- Canopy. Identify live versus dead limbs. Live limbs have tight bark and bud nodes. Dead limbs sound dull when tapped and shed powder when scraped. Avoid dead overhead. Harvest dead standing for rafters and thatch supports.
- Ground. Follow water lines, flattened grass, and debris trails. Even slight channels mean runoff. Find knolls with firm soil. Kick the surface. If it goes soft, move higher.
- Near field. Feel textures. Dry leaf litter crackles and shatters. Damp litter clumps and smears. Dry grass squeaks when rubbed. Learn the sound of good bedding.
Know your plants. Conifers offer boughs that shed water and make springy bedding. Spruce and fir are best for roof layers. Pine works in a pinch but the needles mat slower. Broadleaf trees provide leaves for insulation and bark for shingles or ties. Willows and young hazel give you flexible wands for weaving. Cattails and reeds make excellent thatch and bedding. Vines and long roots can serve as cordage.
Assess wood for structure. You want a straight ridge pole the length of your body plus a little. Wrist thick ribs for rafters. Thumb thick sticks for lattice. Save your best pieces for load bearing points. Test each piece by bending it slowly with your arms extended so if it snaps your body is clear.
Movement
Move with intent to save energy and avoid injury. Strip materials as you collect them instead of carrying weight you will not use. For example, buck off side branches and drag clean poles. Bundle bedding in armfuls and stage them near your build site before you start roofing. Build in layers so you move less and reach less.
Carry poles by balancing them on your shoulder with the heavy end forward so the light end trails and clears obstacles. When you cut or snap branches, brace the piece on a log or rock and keep your fingers out of the pinch zone. Kneel or squat instead of bending your back. Work with your legs under you and keep your feet sure. On slopes, stand uphill of the work to avoid slips onto sharp wood.
Sequence your build to reduce motion. Bed first, then frame, then roof, then door and windbreak, then upgrades. Each step sets up the next. Avoid the trap of chasing tasks out of order. That burns time and creates weak links.
Gear That Earns Its Weight
Carry options
Natural materials do the heavy lifting, but a few tools multiply your effort. If you carry only one cutting tool, choose a sturdy fixed blade knife with a comfortable handle. A small folding saw is worth its place. It cuts clean shoulders on poles and saves calories compared to snapping everything. A compact ferro rod and a reliable lighter weigh almost nothing and pay off if weather turns. Add a small roll of bank line and some paracord. The bank line binds tight and grips bark. The paracord gives you strength for ridge poles and anchor lines.
Contractor bags, two if you can, are workhorses. They haul dry leaves and keep gear dry. Cut them open and you have a groundsheet or a vapor barrier under bedding. A handful of medium nails or strong wooden pegs can anchor in hard soil or in frozen ground where tying to stakes is slow. A lightweight tarp is nice to have but not required. The focus here is on natural materials. Still, a square meter of plastic in the right place can save an hour of thatch work.
Carry weight on your hips and close to your back. A simple pack with a waist belt beats a sack over the shoulder. If you do not have a pack, a blanket roll with cord or a scarf sling will do in a pinch. Keep tools where you can reach them without unpacking everything. Knife on the belt, saw in a pocket, cordage in an outside pouch, lighter in a pants pocket.
Useful redundancy
- Two ways to cut. Knife and saw cover most tasks. If one fails, the other keeps you moving.
- Two ways to bind. Bank line for hard bindings and plant fiber or roots for long spans. Practice both.
- Two layers between you and the ground. A plastic sheet or bark slabs below and dry litter above.
- Two light sources. Headlamp for hands free work and a small snap light if you drop the lamp.
Redundancy does not mean hauling duplicates of everything. It means overlapping capability. If a cord fails, you can weave with willow. If the saw blade breaks, the knife can baton through small stock. Capability stacks matter more than brand or model.
Training That Sticks
Short reps
Skill beats gear and skill fades without use. Train in short focused sessions. Set a timer and give yourself thirty minutes to complete a task. Then repeat it with small changes. This builds muscle memory and speeds problem solving under pressure.