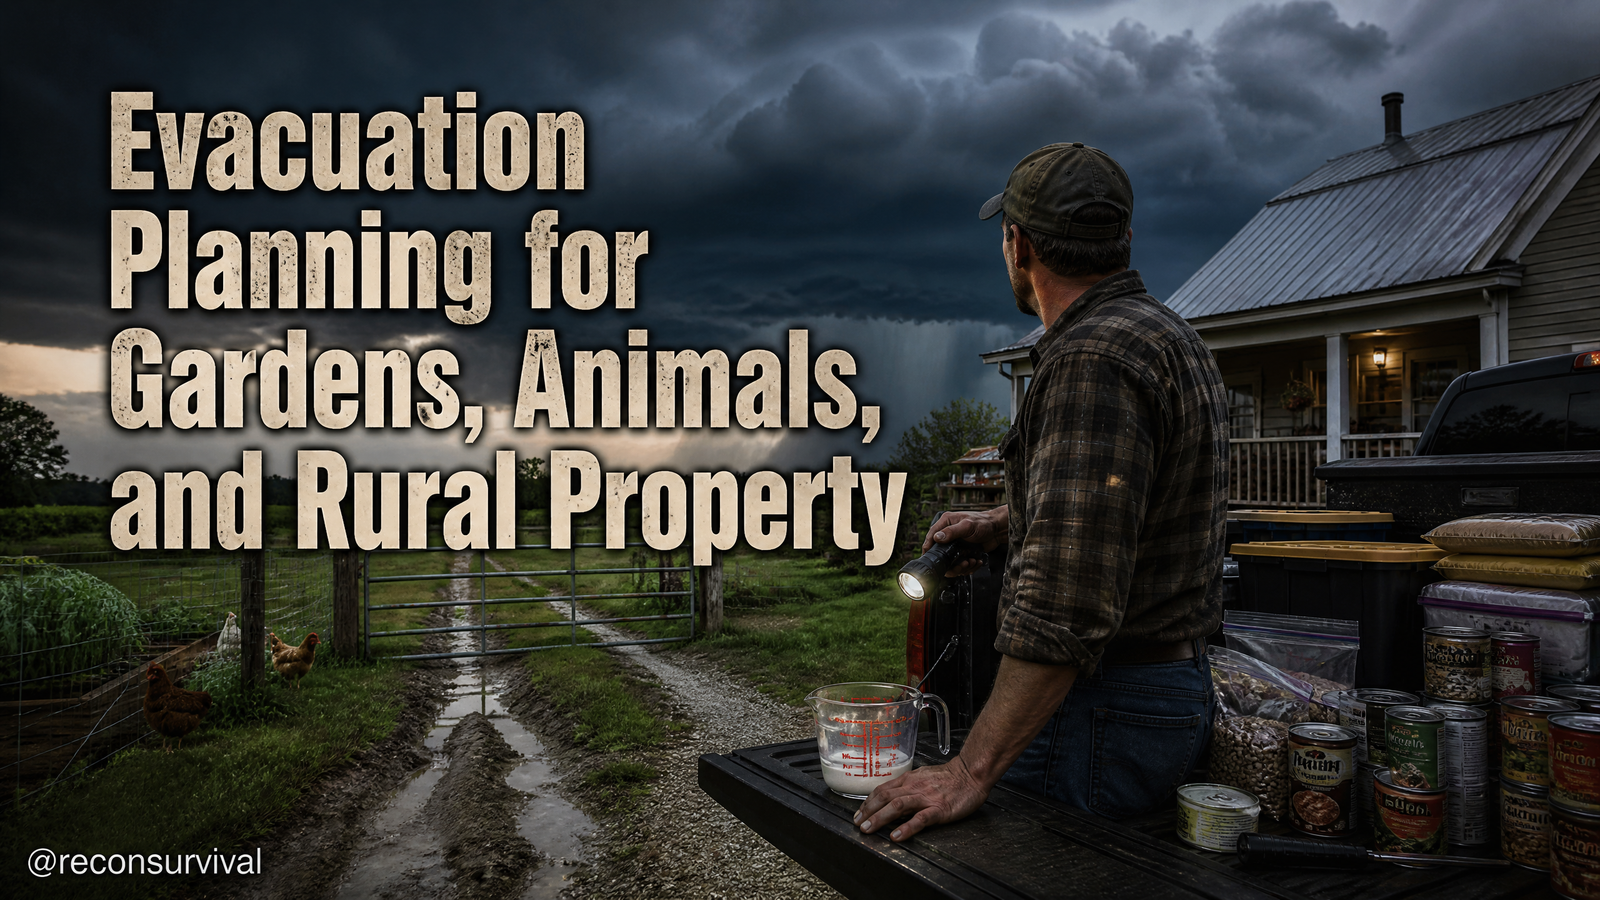
Walk to your gate and look at the ruts, the ditch, and the swing of the hinge. If you had to roll a loaded trailer out in the rain tonight, would it clear the trees, the culvert, and the neighbor's truck?
As an Amazon Associate, I earn from qualifying purchases.
Bug-In or Evacuate: Pick Your Trigger Thresholds
Hurricanes force a simple but hard call: stay or go. The worst time to decide is when the wind is already up. Make the call now, before peak storms stack pressure on the coast and push inland rain on you.
Why this matters: you have living things, water systems, tools, and buildings that don't move easily. Evacuating late means you'll either leave animals and assets in chaos or risk yourself trying to save them. Bugging in with no plan can mean preventable losses.
The most common mistake is trying to move everything and deciding too late. Fix it with a short list of hard triggers and a pre-staged plan:
- Write one evacuation trigger you will honor. Example planning triggers: forecast storm surge that reaches your driveway elevation, official evacuation for your zone, credible forecast of prolonged power loss plus flood risk at your barn elevation, or wind fields that make hauling unsafe after a certain time.
- Write one shelter-in-place trigger with conditions. Example: you will stay if you have high-ground pens above expected flood, secure feed and water for 7 days, and a generator location that vents safely.
Post both on a sheet by the kitchen door and in the truck glove box. Decision made early buys you time to protect what you can.
Gate, Driveway, and Roadside Staging
Your gate is the choke point. If it binds, floods, or is blocked, the rest of your plan collapses.
Walk this area with a tape, loppers, and a paint marker:
- Trim branches to at least 14 ft clearance over the driveway for trailer roofs. Stack trimmings well off the ditch.
- Measure gate width. Mark the post at mirror height so drivers judge clearance at night. – Check the culvert. Clear visible debris. If water routinely overtops, pre-stage two road cones and a shovel just inside the fence. – Grease hinges. Test gate swing against wind. If it self-closes, add a simple latch rope you can open one-handed. – Stage one pallet of evacuation gear just inside the gate: muck boots, headlamps with fresh batteries, a tote with zip ties, duct tape, a 50 ft tow strap, and reflective vests. Label the tote "Gate Kit."
- Put a laminated contact card on the inside post: property address, two phone numbers, and "Animals on site" note for a caretaker or deputy.
Decision point: if your driveway has more than one tight turn or soft shoulder, pre-walk the trailer path and mark the inside corners with reflector stakes.
Barn, Coop, and Animal Pens
Animals are the schedule. Everything else follows them.
Do a pen-by-pen check with a notebook:
- Count and write down head numbers by species and pen. Tape the count list to the barn door.
- Collars and ID: put a phone-number tag or livestock paint mark on each animal today. For poultry, zip-tie a numbered band to one leg or use a non-toxic paint dot on the back for flock counts. – Crates and halters: stack carriers with doors facing out. Hang leads on a single peg near the loading door. Test each snap. – Load order: largest animals first or hardest-to-catch first based on your setup. Write the order on a barn whiteboard: "Goats, then dogs, then poultry."
- Feed staging: pre-bag 3 days of feed per animal group in contractor bags or buckets with lids. Label by group. Stack on a pallet 12 inches off the floor.
- Water on the road: clean two 5-gallon jugs, label "Animal Water," and keep them capped on a barn shelf. Keep one collapsible trough or shallow bin strapped under the trailer. – Vet papers: print and put copies in a zip bag in your barn tote. Include vaccination summaries and emergency vet number.
Bug-in prep for animals:
- Identify your highest, driest pens. Walk them and remove loose wire, dead limbs, and light roofing panels that could rip free.
- Top off troughs the night before wind arrives. If you have automatic float valves, check for debris and test shutoff. – Pre-place a round bale or multiple small bales under roof, tied against roll, with a covered feeder area to limit waste in rain.
Evacuation trigger for animals:
- If forecast flooding could reach current pens or the road out, you load on your timeline, not the storm's. Write the hour you will start loading if your trigger is met.
Pastures and Fencing
Even if you evacuate, a caretaker might need to manage what remains. Make pastures safer and simpler.
Walk fence lines with a pocket notebook and a bucket of staples:
- Remove or tie down loose tarps, mineral feeders with sharp edges, and plywood leaning on posts.
- Mark one "high-ground refuge" paddock with a blue ribbon on the gate. Ensure water access there with a trough and a manual fill option. – If you use electric netting, coil and store it if winds are forecast to be high. For permanent electric, test your charger, clear grass on hot wires, and post a "Fence Hot" sign on the main gate. – Stack and cap T-posts and extra panels inside a shed, not against fence lines where they can become hazards.
Caretaker note: leave one printed map with paddock names, gate codes, and water points in a Ziploc nailed inside the main pasture gate.
Garden Beds and Greenhouse
You can't take the soil with you, but you can protect yield and seed.
Triage the garden 24 to 36 hours before expected impact:
- Harvest now: tomatoes blushing, beans, peppers, squash, and herbs. Fill crates and label by crop. Flash-freeze on trays or refrigerate labeled bags.
- Protect perennials: stake and tie with soft ties. For trellises, either add two more stakes and lash the top rail or take trellises down and lay them flat with bricks. – Seed and starts: collect labeled seed packets and any saved seed jars into one latch-top bin. Move trays from greenhouse to the coolest interior room you can control. – Containers: move pots to ground level, group tight against a wall, and run one tie-down line through handles, anchored to a ground screw or heavy cinder blocks. – Compost: close and strap lids. If you use open piles, cap with a layer of finished compost or wet cardboard to minimize scatter. – Irrigation timers: photograph current schedules, then switch to manual and open valves briefly to flush. Unplug controllers and bag them.
Bug-in garden care:
- Pre-fill clean 5-gallon buckets for hand-watering. Store them in the mudroom or under a bench.
- Lay row cover fabric flat and weight edges if high winds are forecast to prevent it from shredding.
Pump House, Irrigation, and Water
Water is both lifeline and hazard. Make the pump house simple to shut down and bring back online.
Inside the pump house or by the irrigation manifold:
- Label the main house water shutoff and the irrigation main with big tags. Use arrows for OFF direction.
- Test closing the irrigation main. Time how long it takes for pressure to drop at a spigot. – If you have a pressure tank, note the pressure setting on a piece of painter's tape. Photograph gauges. – Backflow preventer: if you know your unit, cover exposed brass with a towel and plastic to reduce windblown debris impact. Do not modify plumbing without a pro. – Drain above-ground lines: open end caps at low points and let them empty. – Cap and coil hoses. Move them to a shelf or hook. – For wells with control boxes, label the breaker at the house panel with "WELL." Practice flipping it off and on.
Evacuation water plan:
- Fill and cap 10 to 20 gallons of potable water in clean containers for your household. Mark the date with a Sharpie. Stash two gallons in the truck bed inside a lidded tote.
- For animals that must remain, fill all troughs and place clean, weighted lids on small tubs to reduce debris contamination.
Tool Shed and Fuel
When you return, you'll need tools in known locations, not scattered by wind.
Inside the shed:
- Inventory: write a one-page "return kit" list and tape it to the inside of the door: gloves, pry bar, hammer, roofing screws with washers, tarps, utility knife, staple gun, fencing pliers, and a hand saw.
- Secure: hang long-handled tools on wall racks. Bungee bundles so they don't become projectiles. – Fuel: date each can. Store gas and diesel off the floor on a shelf, away from doors, and at least a foot above known high-water marks. Ventilate per manufacturer manuals. – Generator: if you have one, stage it on a wheeled base near an exterior door with a pre-measured cord. Mark its fuel type. Never run it indoors. Identify an outdoor spot where exhaust won't blow into windows. – PPE: keep eye protection, hearing protection, and leather gloves in one clearly labeled bin.
Outbuildings and Loose Assets
Small buildings fail at edges and openings first.
Walk each structure:
- Doors: add a second latch or a hasp with a padlock. Check hinges and add longer screws where loose.
- Roof edges: if you have exposed corrugated panels, add a few extra screws with washers along the leading edges. – Windows: close and latch. If you use removable storm panels, stack labeled panels by building and pre-stage the correct screws and a driver in a zip bag taped to the stack. – Loose assets: move wheelbarrows, ladders, and empty stock tanks inside. If they don't fit, tie them to posts low and tight.
Make a "last 30 minutes" bin by the back door with: four ratchet straps, a roll of plastic sheeting, and a pouch of screws.
Main Room Command Board and Caretaker Handoff
Your kitchen or mudroom should act like a small command post.
Set up a simple board:
- Map: print a property map with buildings and paddocks labeled. Circle water shutoffs and breaker panel locations.
- Roles: write names next to tasks. Example: "Sam loads poultry. Jordan shuts irrigation. Taylor grabs vet papers. Neighbor Lee checks high paddock if we evacuate."
- Triggers: write your evacuation and bug-in triggers plainly. Add the time you'll reassess forecasts.
- Contacts: print a contact tree: neighbors, vet, local animal shelter, emergency management non-emergency line. – Keys: hang a labeled set for gates, sheds, and vehicles on a hook by the board. Put one spare set in a lockbox. Share the code with your caretaker. – Handoff packet: put feeding instructions, daily amounts, medication notes, and gate codes in an envelope marked "Caretaker." Place a spare headlamp and batteries with it.
Record a 60-second walk-around video on your phone that shows the pump shutoff, barn layout, and where the feed and crates are. Text it to your designated backup.
The Walk-Through: Gate to Barn to Pump House to Garden to Truck
Do one slow rehearsal so your body knows the route.
Order of stops for evacuation prep:
- Gate: open, latch, and cone the ditch side.
- Barn: halters on, load order posted, carriers staged, feed bags loaded. – Pump house: shut irrigation main, flip well breaker if evacuating, fill animal water jugs. – Garden: harvest crates filled and labeled, seed bin moved inside, timers unplugged. – Shed: grab return kit bin, PPE, and two tarps. – House: command board checked, caretaker packet on the table, keys pulled. – Truck and trailer: tire pressures checked, lights tested, safety chains crossed, breakaway battery tested, animal water loaded.
Say the route out loud as you move. Time it. Write the total minutes on the command board.
Small Backyard Version
If you run a backyard garden with a small flock or a pair of rabbits, keep it simple and fast.
Chickens and rabbits:
- Stage one medium dog crate per 3 hens (or per rabbit pair) in the garage. Line with a towel.
- Pre-pack 3 days of feed in zip bags inside a lidded bin. Duct-tape a small waterer to the bin lid. – Put one slip-lead and a small animal first-aid kit in a gallon bag. – Decide now: evacuate pets and small livestock with you if official evacuation reaches your neighborhood, or if you lose confidence in keeping them dry and fed for 72 hours. – If bugging in, bring hutches into the garage or an interior room, away from windows, and set a box fan on low to move air if heat and humidity are high and power remains.
Garden:
- Harvest aggressively, refrigerate or share.
- Lay pots down and slide under a bench or table on the patio. – Unplug and bag a single hose timer. Open the faucet slightly after wind risk passes if you remain home.
Water and power:
- Store at least 1 gallon of water per person per day for 3 days, plus a couple of gallons for animals. Mark dates on containers.
- Charge two battery banks and put one flashlight in each bedroom.
Low-Cost Now vs Durable Upgrade Path
Start with what you have. Improve as you learn.
Low-cost now:
- Painter's tape and a Sharpie to label shutoffs and breakers.
- Used pet carriers from classifieds for poultry and rabbits. – Contractor bags for pre-portioned feed. – Reflector stakes to mark tight driveway turns. – Zip ties and paracord for quick tie-downs. – Printed maps, laminated with clear packing tape.
Durable upgrades:
- Steel gate with a positive latch and a ground stop to keep wind from over-swing.
- Dedicated livestock trailer with maintained tires, a spare, and matching lug wrench. – Permanent tie-down anchors set in concrete by sheds and greenhouse corners. – Heavy-duty stock tanks with fitted lids or grates to reduce debris contamination. – Lockable, weatherproof document box mounted in the barn with vet records and contact sheets. – Standby power wired by a licensed pro to support the well and one barn circuit, with safe exhaust routing for a generator.
Recon Survival Principle
Decide early, simplify the landscape, and assign names to jobs. Rural property works in chains: a clear gate lets a loaded trailer exit; a labeled shutoff saves time at the pump house; a printed load order prevents chaos in the barn; a caretaker packet keeps the animals fed if you can't get back. Your job is to make each link obvious, short, and repeatable.
Evacuation and bug-in are not opposites. They are two branches of the same plan, both anchored in the same visible cues: flood height against your steps, wind that makes hauling unsafe, and time on the clock. Write those cues down, stage the tools where you reach for them, and walk the route once before you need it.
Do Today
- Write one clear evacuation trigger and one bug-in trigger on a sheet of paper. Tape it by the kitchen door.
- Walk to your gate with loppers and trim for trailer clearance. Place a labeled "Gate Kit" tote inside the fence.
- Label the irrigation main and house water shutoff with bright tags. Practice closing them and note the direction.
- Count animals by pen and write the numbers on a sheet taped to the barn door. Put ID tags or paint marks on each.
- Pre-bag 3 days of feed for each animal group in labeled buckets or bags and stack them on a pallet off the floor.
- Unplug irrigation timers and photograph current settings. Coil hoses and move them onto hooks or shelves.
- Print a property map, mark water and power control points, and assemble a caretaker packet with contacts and feeding notes.
- Stage carriers, halters, and a collapsible water bin in one spot by the barn loading door. Test every latch.
- Fill and cap at least 10 gallons of potable water for household and animals. Write today's date on the caps.
- Do a 15-minute walk-through: Gate to Barn to Pump House to Garden to Truck. Time it and write the total on your command board.