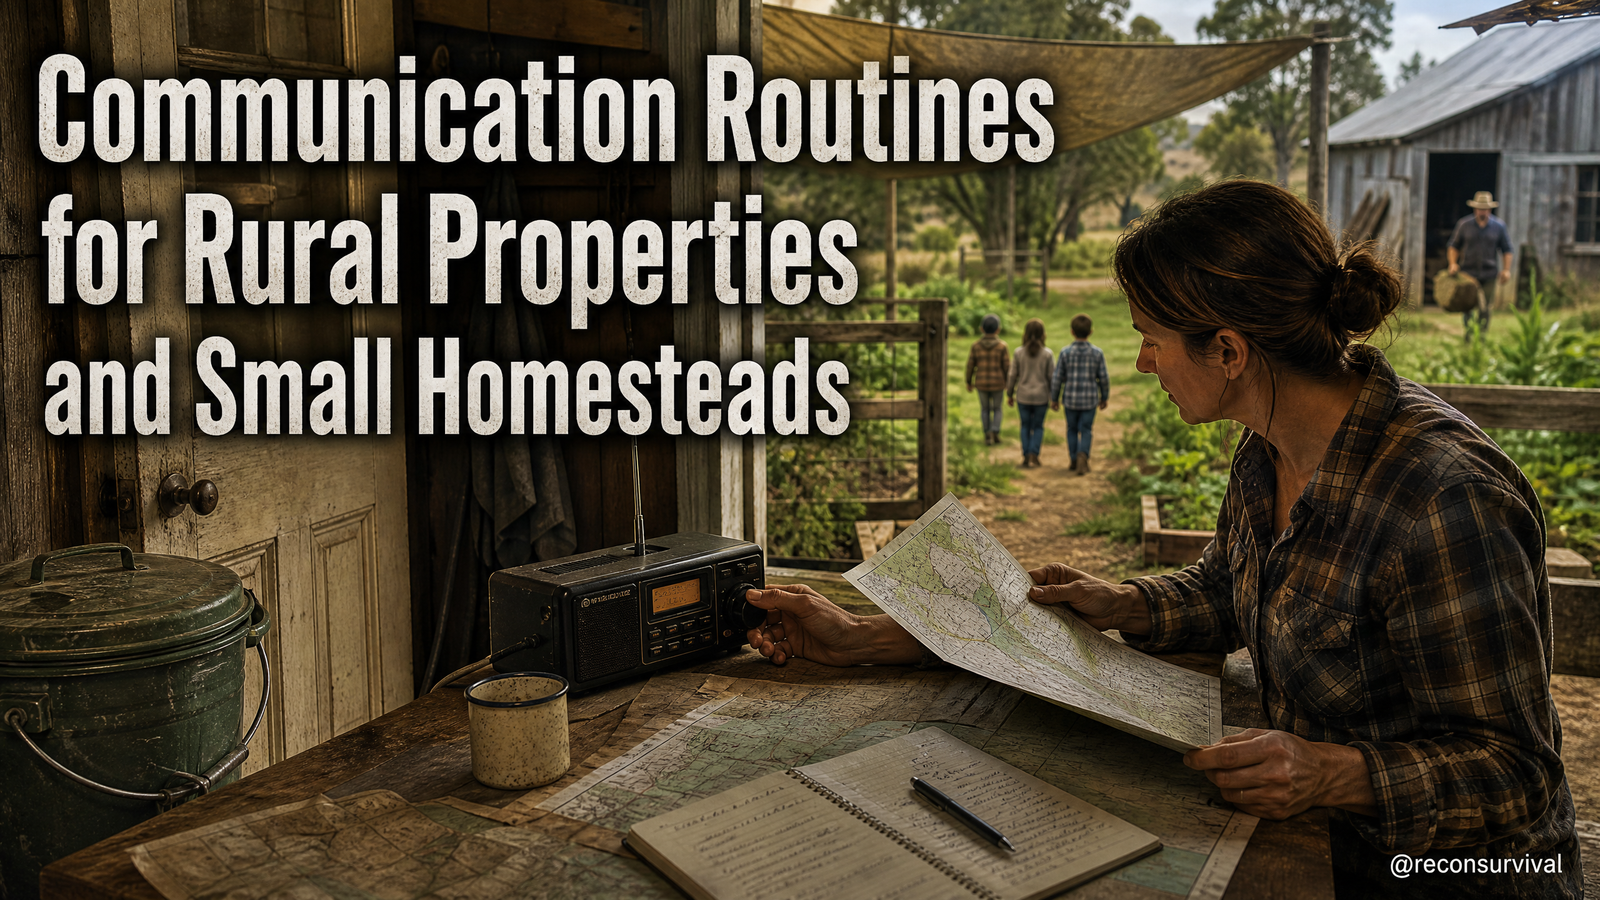
Out by the garden gate your phone has one bar, your partner is in the barn, and the kids are walking the dog toward the mailbox. That's a normal day on a small homestead, but it is also how people get scattered right when weather moves in or a chore goes sideways. The fix is not more gear. It is a simple routine that uses radios, schedules, signals, and property zones so everyone knows what to do and where to meet even when cell service drops.
As an Amazon Associate, I earn from qualifying purchases.
Kitchen Counter Radios and the Daily Check-in
Radios live where people pass by. Park a pair on the kitchen counter by the coffee maker with a small label: Channel, Quiet Hours, and Check-in times written in marker on masking tape. This becomes your household anchor point.
Why it matters: the kitchen is where you can hear if the base radio squawks, grab a handheld on the way out, and call a quick roll before school, chores, or a drive into town. A 30 second schedule beats 30 minutes of guessing later.
Set this up today:
- Count your handhelds and chargers. Write the number on a sticky note on the charging base.
- Label one radio "Kitchen Base" and leave it on charge at all times. If your radios have AA trays, keep a full spare set in a zip bag in the same drawer. – Choose one primary channel number and write it on the tape. Keep it simple. If your radios use tones, use the same one on all units or turn tones off so any brand can hear you. Follow local rules for the service you use. – Establish two check-in times that fit your chores. Example: 7:30 a.m. and 12:30 p.m. Say it out loud at breakfast and write it on the tape. – Add one weather scan habit. At the top of the hour, the Kitchen Base listens for weather radio or you tap the weather button on a dedicated weather radio on the fridge top.
Common mistake to avoid: people buy radios and scatter them in drawers. No shared channel, no posted schedule, no habit. The tool is fine. The routine is missing.
Mudroom Wall Map and Property Zones
Communication gets easier when your land is broken into zones with names that everyone uses. Put a printed or hand-drawn map on the mudroom wall at eye level next to the boot rack. A sheet protector and painter's tape are enough.
Define your zones with a marker:
- Zone 1 House and Porch
- Zone 2 Garden and Tool Shed
- Zone 3 Barn and Shop
- Zone 4 North Pasture or Back Acre
- Zone 5 Driveway and Mailbox
Next to the map, hang a pencil on string. On the edge of the map, write three items:
- Primary Channel, Backup Channel
- Quiet Hours (for sleeping kids)
- Meet Points: A for daylight (front porch), B for night (kitchen table), C for no-radio backup (barn breezeway)
Put a small dot sticker on each real-world location. Walk to the actual gate and stick a number "5" on the inside post at shoulder height so a teen can radio, "At 5." Field language stays short when numbers match real places.
Checks to do this week:
- Walk the fence line and gate areas with a handheld. Test if Zone 4 and Zone 5 can hear the Kitchen Base and Barn radio. If signal is weak, move your base radio to a higher shelf or near a window and retest.
- If terrain blocks line-of-sight, decide a backup routine. Example: if no reply after two calls, walk toward Zone 3 and use the barn radio as a relay.
Porch Bell, Whistle, and Light Signals
Radios fail when batteries die or hands are full. Backstop them with simple sound and light signals that work across your property. Mount a small cowbell under the porch eave and put a pea whistle on a hook by the back door. At night, the porch light is your visual signal.
Make the codes simple and post them on an index card taped next to the mudroom map:
- One long whistle or 5 porch light flashes: Come to the porch calmly.
- Two short whistles: Radio check now on the primary channel. – Three short whistles: Stop and look for a person at the nearest zone marker. – Air horn at the barn: livestock issue, meet at Zone 3.
Practice with the actual devices so you know what can be heard from the garden beds and the back acre. Stand at the tool shed and count how many flashes are clearly visible. If the dog barks on one blast, the system works better than silence.
Barn, Shop, and Gate Radios
Keep one radio where hands get dirty. In the barn office or on a stud by the door, screw in a small shelf for a charging base and a label that says Channel, Backup, and "Return to charger after chores." Put a second handheld in a zip bag with a Sharpie note: Dry spare, AA tray in pocket.
Most common on-property radio problems start here:
- Different people use different channels.
- Batteries are dead or missing. – The radio is inside a metal building and can't hear the house.
Fix it with a barn routine:
- At breakfast, the Kitchen Base calls, "Radio check on 3, then switch the barn set to 3." Each person says name and zone. Takes under 30 seconds.
- When someone heads to the shop, they clip the barn radio high on a pocket or hang it on a lanyard so their voice isn't muffled. – If the barn radio cannot hear the Kitchen Base, step outside the door and retransmit. Note the spot on a sticker: "Clear signal on south side of door."
Gate coverage is its own issue because you often stand by metal. Mount a small PVC pipe pocket on the fence post to hold a radio while you work both hands. Check that Channel 3 reaches the house from there. If not, choose a backup meet point time like "on the hour" to reduce waiting time.
Driveway and Roadside: Vehicles, Mailbox, and Travel Check-ins
Your radio routine should cover small departures too. Tape a simple index card inside the mudroom door:
- Leaving the property: Say "Leaving to 5, back by 4 p.m."
- Arriving at driveway: Call "At 5, coming up" so gates are managed and dogs are contained.
- If no contact at scheduled return time: Kitchen Base calls once, then texts, then moves to Meet Point A.
Vehicles are part of the system:
- Put a radio in the truck glovebox with a 12 V charger. Label the cord and stash a small zip bag with aaa batteries in the center console.
- Tape the primary channel on the dash near the radio pocket. – If you often pick up feed or tools, keep one extra handheld in a door pocket for the passenger. It is faster to hand them a working radio than to teach them your phone's push-to-talk app.
If a family member drives off-property, use a simple timeline:
- Call at the mailbox, then again when 10 minutes out from home.
- If there is no reply for 5 minutes on the primary, call once on backup, then switch to text. If still nothing, use the posted meet point plan rather than burning time on repeated calls.
Garden Beds and Tool Shed: Hands-Free and Weather Alerts
The garden eats radios if you put them on the soil while you weed. Use a belt clip or a cheap chest rig with one pocket you can reach with dirty gloves. Avoid voice-activated transmission unless you have tested it; wind and machinery can lock a mic open.
In the tool shed, mount a small shelf with:
- A handheld on a trickle charger.
- A corded or battery weather radio set to your local station. Write the volume setting on a piece of tape so it is audible but not blaring. – A printed card: "If thunder or high wind alerts, call Kitchen Base, secure tools, meet at A."
Add hardware to support the habit:
- A carabiner on the wheelbarrow handle for clipping a radio.
- A labeled zip bag with silica gel and a microfiber cloth to dry a wet radio.
Test how a call sounds while a tiller runs or a sprinkler clicks. If your voice is washed out by noise, shift your radio mic 6 inches from your mouth and speak across it instead of into it.
Bedrooms and Nightstand Quiet Hours
Evenings are when batteries finally quit and people are tired. Put one handheld on the primary adult's nightstand, set to low volume, and a second in the hallway charging station near the kids' rooms. Quiet hours should be posted on the mudroom map and mirrored on a small card on the nightstand.
Night routine:
- At quiet hours start, switch the household to text-first for non-urgent needs. Radios move to "call only if needed." This prevents chatter.
- Define two night signals in advance: one porch light flash pattern and one radio phrase. Example: "All hands to A" means get to the kitchen calmly and quietly. Avoid codewords that confuse visitors or babysitters. Keep it plain English. – Before bed, glance at the Kitchen Base display or batteries. If power is out, move a battery lantern to the kitchen table and ensure the base radio has a charged pack or AA tray installed.
Place a notepad and pen by the nightstand radio. If you wake and make a call, write the time and what you said. Tired brains forget details; ink does not.
Walk-Through Sequence: The Daily Comms Circuit
A small circuit, walked once per day, keeps the system real. Do it in this order:
Mudroom
- Check the wall map is visible and intact. Tap the pencil. Confirm posted times match what you said at breakfast.
Kitchen
- Look at the base radio battery indicator. If below 2 bars, swap to the spare and put the low one on charge. Tap the weather radio and confirm reception.
Porch
- Ring the bell once. Listen from the garden. If muffled, move or tighten the bell. Flip the porch light 5 times and count the visible flashes from the driveway.
Barn
- Step outside the metal building and make a quick radio call to the Kitchen Base. If reception is spotty, note the strongest corner and mark it with tape.
Garden and Shed
- Clip a radio and bend to knee height. Talk into it while low to the soil. If your body blocks signal, adjust where you carry the unit. Press the weather alert test on the shed radio if it has one.
Gate and Mailbox
- Call "At 5" to the Kitchen Base. If no reply, try backup channel. If still no reply, start the agreed relay plan through the barn or return to Meet Point A at the next quarter hour.
Vehicles
- Open the glovebox. Verify the radio, cord, and AA pack. Start the truck and briefly charge the handheld to confirm the outlet works. Write the date on a small strip of tape on the charger.
Bedrooms
- Peek at the nightstand radio volume. If it is loud, turn it down and note the current quiet hours. Put the low battery pack on the hall charger.
This walk takes 8 to 12 minutes and reveals almost every failure before you need the system.
Low-Cost Start and Durable Upgrade Path
If you are starting from scratch, spend as little as possible until the routine is solid:
- Two to four blister-pack FRS handhelds with AA trays. Skip fancy features and focus on clear audio and spare batteries.
- One printed property map in a plastic sleeve, blue painter's tape, index cards, and a Sharpie for labels.
- One small mechanical bell or a whistle by the porch door.
- One basic battery-powered weather radio in the kitchen or shed.
Run this for two weeks. Fix the routine first. If it works, then upgrade durability where it matters most:
House Base
- Add a mobile-style radio as a fixed base with a wall power supply and a small 12 V battery for backup, installed in the kitchen or mudroom office area. Follow manufacturer instructions and local rules. Mount an external antenna under the eave to improve coverage to fields.
Handhelds
- Move to water-resistant radios with better audio and accessory support. Buy extra battery packs and at least one AA tray per model. Standardize on one model to simplify parts and training.
Power and Charging
- In the barn and shed, install a small solar charger and charge controller dedicated to the radio charging shelf. Keep one outlet live even when grid power is out.
Weather and Alerts
- Upgrade to a SAME-capable weather radio. Program your county code so you only get relevant alerts. Keep printed instructions taped to the back for reprogramming. [FACT CHECK REQUIRED: verify local SAME code and programming steps specific to your model]
Documentation
- Laminate the zone map and signal card. Add a simple one-page radio quick-start and stick it to the inside of the mudroom cabinet door.
These upgrades make sense after the routine is used daily and the weak spots are obvious.
Small Backyard Version: Suburban Lot or Tiny Homestead
On a small lot, the same system shrinks but still pays off. You likely do not need as many zones, but schedules and signals still reduce friction when phones fail or hands are wet and dirty.
Adjustments for a small space:
- Zones: 1 House, 2 Backyard and Shed, 3 Driveway and Street.
- One pair of handhelds is enough. Keep one on the kitchen shelf, one in the shed on a charger. – Signals: doorbell code during the day, porch light flashes at night. – Check-ins are task based rather than time based. Example: "Radio when you start the mower, radio when you finish."
- Travel: call at the driveway when leaving and returning so garage and pets are managed without yelling.
Field example: You are pressure washing the patio while your partner runs an errand. The splash makes phones useless. One radio clipped to your belt, one in the car. A simple, "Leaving to 3, back by 2 p.m." on departure and a "At 3, coming in" on return keeps the dog from bolting and the garage from opening into the spray.
Recon Survival Principle
Radios are not a magic fix. Communication works because you put words and times on a map, rehearse the calls, and backstop electronics with simple signals. Build the habit where you stand. Tie it to the breakfast table, the mudroom map, the porch light, the barn door, and the glovebox. When everyone knows the channel, the zone names, and the next meet point, you trade confusion for a 10 second call that brings the household together.
Do Today
- Put two handheld radios on the kitchen counter with tape labels for primary channel, backup channel, and two daily check-in times.
- Draw a simple property map on printer paper, mark 3 to 5 zones, and tape it to the mudroom wall with a pencil on a string.
- Choose and post three signals: one whistle pattern, one porch light flash pattern, and one plain-English all-call phrase.
- Do a 10 minute radio walk: kitchen to barn to garden to gate to driveway. Call the Kitchen Base from each spot and note any dead zones on the map.
- Stage one radio and charger in the barn or shed with a written reminder to return it to the charger after chores.
- Put a handheld and a 12 V charger in the truck glovebox. Label the cord and test the outlet for 2 minutes.
- Set quiet hours and place one radio on the nightstand at low volume with a notepad and pen beside it.
- Add a battery weather radio to the kitchen or shed, write the station on tape, and test the alert tone.
- Write the meet points A, B, and C on an index card and tape it next to the mudroom map. Practice one meet by walking to A right now.
- Assign one person to run the Daily Comms Circuit tomorrow morning and rotate that role each week.