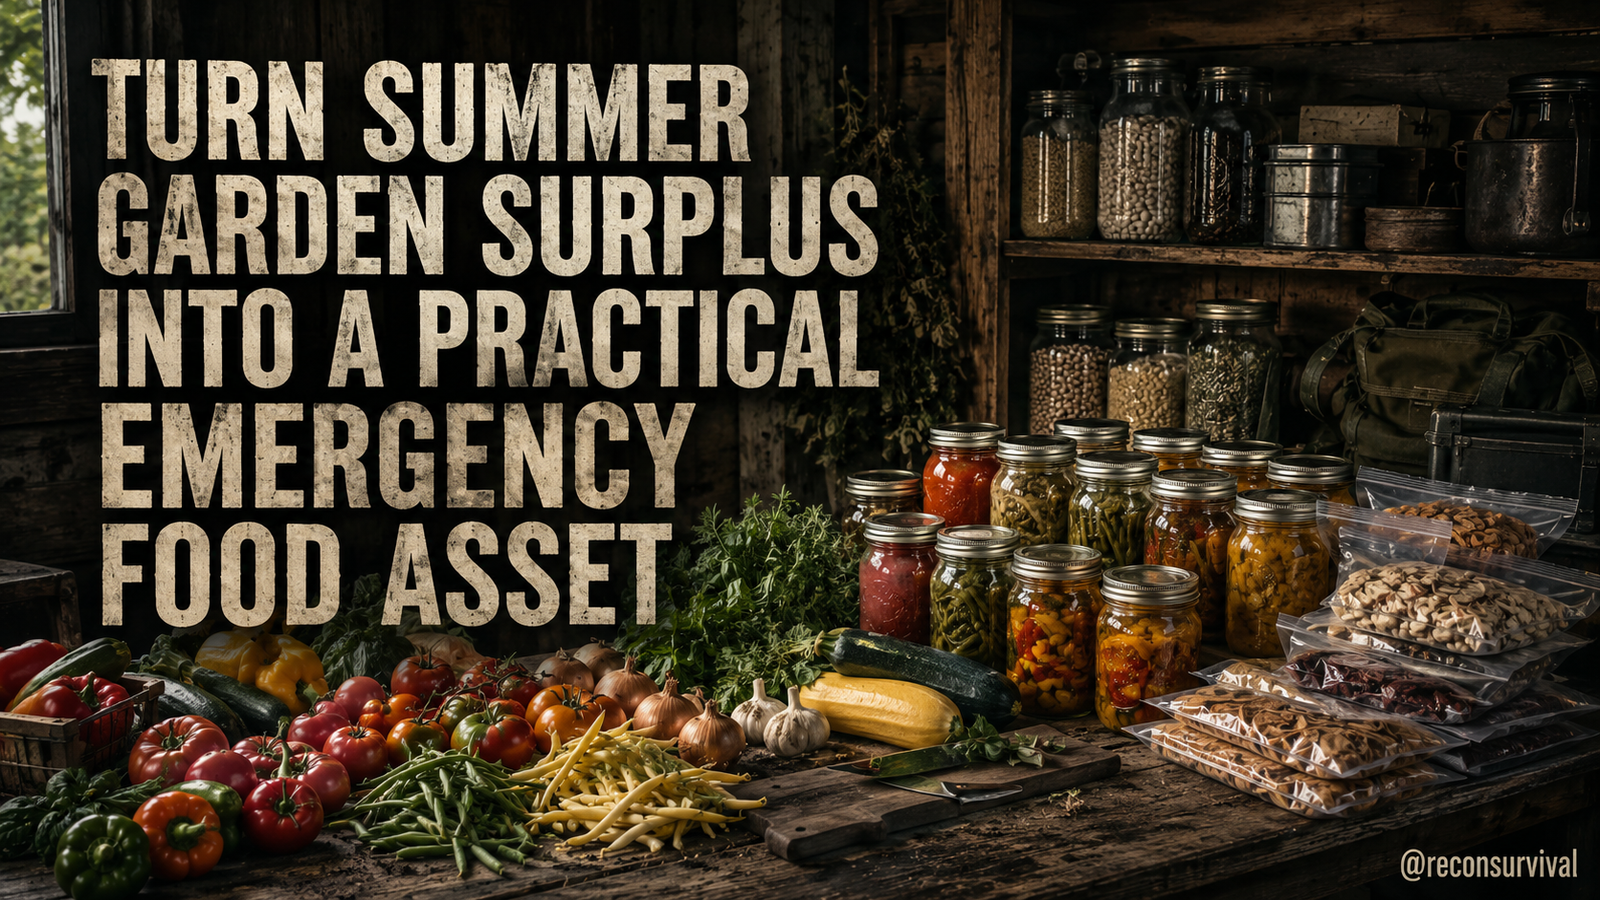
A practical way to use garden output for fresh eating, drying, freezing, canning, and pantry planning, but most advice is either too generic, too gear-focused, or too late.
The garden has produced its first surplus, but the harvest sits in bags or buckets waiting for decisions that often take too long. For many households, the output from a small plot or a raised bed turns into waste because the plan for preservation is not ready before the weather turns or a supply disruption hits. This is the real-world problem: having excess food that cannot be processed safely or stored efficiently, leaving a family vulnerable when fresh supplies are hard to get.
The Recon Survival approach treats garden output as an emergency asset that must be secured, not just consumed for dinner. We are not looking at extreme scenarios or distant disasters. We are looking at the practical reality that summer brings heat, storms, travel, and potential supply disruptions that collide when you least expect them.
Why This Matters for Summer Food Security
The transition into summer changes how food security works for a household. The heat accelerates spoilage, and power outages from storms can ruin a refrigerator in a matter of hours. If you rely entirely on what you can buy at the grocery store, you have no buffer against supply chains breaking.
Building resilience means having food that is already processed, dried, canned, or frozen. When you use your garden output for fresh eating, drying, freezing, canning, and pantry planning, you reduce your reliance on store trips. This creates a layer of security that protects the family during times when the roads are closed or shelves are empty. It is about practical preparedness. You do not need a massive garden to be resilient; you need a system that turns a few extra vegetables into long-term assets. This approach is calm, realistic, and value-first. It focuses on the household's ability to handle a situation without panic.
The Common Mistake with Garden Surplus
The most common mistake people make with garden output is waiting too long to act. Many gardeners pick a harvest, wash it, and then set it aside, hoping to get around to preservation later. By the time they get to it, the vegetables have lost their quality, or they have forgotten how to process them properly. This "wait and see" attitude leads to waste and missed opportunities to build a food reserve.
Another mistake is trying to do too much at once or using complex methods that fail when resources are low. For example, attempting to can without a dedicated pressure canner or drying food without a dehydrator or low-voltage setup can lead to spoilage or unsafe food. The mistake is treating the garden as a novelty project rather than a source of emergency sustenance.
The Recon Survival Practical System for Garden Output
We break the process into a logical sequence: assess, categorize, process, and store. You start by evaluating what you have and what your household needs for the immediate week. Then, you separate items based on their preservation method. Leafy greens go into the freezer. Tomatoes and peppers might be canned or dehydrated. Root vegetables can be stored or used fresh for a while.
Each step is designed for a normal household with standard tools. You do not need specialized gear to start, though some upgrades make the system more durable. The key is consistency. By following the same routine every week, you build habits that ensure nothing goes to waste. This system works even if the household is dealing with limited power or storage space.
Clear Steps for a Normal Household to Use
To use garden output effectively, follow these steps:
- Sort and Assess: Immediately after harvest, separate produce into three categories: consume within three days, freeze within two weeks, or process into storage. Use a clean cutting board and knife. Check for rot or damage; do not process spoiled food.
- Freeze Fresh Produce: Blanch vegetables like broccoli, carrots, or green beans before freezing to preserve color and texture. Pack them into freezer-safe bags or containers. Label with the date.
- Dry Dehydratable Items: Tomatoes, onions, peppers, and herbs dry well. Cut them uniformly and dry at a safe temperature if you have a dehydrator. If you do not have one, use the oven on the lowest setting with the door propped open.
- Canning High-Acid or Safe-Low-Acid Foods: Use a water bath canner for tomatoes and pickles. Use a pressure canner for low-acid vegetables like beans or carrots. Follow standard safety guidance from the USDA or FDA for processing times.
- Plan Your Pantry Rotation: Take the canned and dried goods and place them in your pantry. Create a rotation plan where the oldest items go first. Use the garden fresh produce for meals while the stored items back you up.
Applying the System to a Small Backyard or Homestead
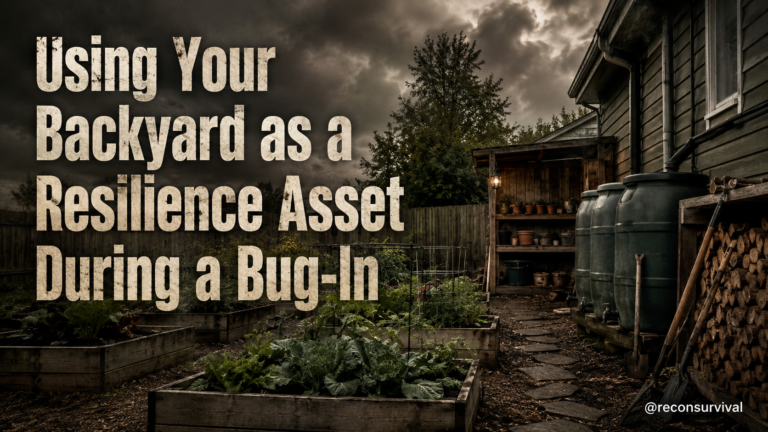
Even a small backyard or a small homestead can support this system. You do not need acres of land to preserve food. A few rows of tomatoes, a bin of carrots, and some leafy greens are enough to demonstrate the method.
For a small space, focus on high-yield crops that store or preserve well. Consider growing kale for freezing, radishes for quick drying, or zucchini for sautéing and freezing. Use small batches to practice the method. If you only have one freezer, freeze in batches and label clearly. If you have limited shelf space, choose dehydrated goods over bulky canned items.
The system scales down easily. You can preserve just enough to handle a weekend trip or a power outage. The important thing is to have a plan that fits your current reality. As you grow, you can expand the system to include more crops and larger quantities.
Low-Cost Options and Durable Upgrade Paths
You can start with low-cost options and upgrade as your skills and budget grow. For freezing, plastic freezer bags are cheaper than rigid containers, but they take up more space. Airtight containers last longer but cost more. For drying, a cheap food dehydrator is better than using the oven, which wastes energy and risks burning. However, a simple screen or drying rack in a dry, airy spot can work if you are careful about weather and cleanliness.
Canning requires specific equipment. A water bath canner is a low-cost starting point. A pressure canner is essential for meats and low-acid vegetables. You can start with one of each and add more as you need them.
For pantry storage, glass jars are durable and safe. Plastic bins are cheaper but may degrade over time. Rotate your inventory to prevent items from expiring before you use them. This approach keeps costs low while building a reliable system.
Recon Survival Principle: Resilience is Built on Consistent Habits, Not Emergency Gear.
The hardest part of preparedness is not having the tools; it is having the habit of using them before you need them. Waiting until an emergency to use a freezer or canner is a recipe for failure. Consistency ensures you know exactly how to use garden output for fresh eating, drying, freezing, canning, and pantry planning. When you act regularly, the process becomes routine. You build muscle memory and a reliable system that works when it matters most. This principle applies to everything from water storage to food preservation. You cannot rely on luck; you must rely on systems that have been practiced and tested in calm conditions.
Do Today
Finish today with a clear action step or checklist. Use this guide to turn your garden output into a practical emergency food asset. – Sort your latest harvest into three groups: immediate consumption, freezing, and processing. – Inspect all produce for rot or insect damage; discard compromised items. – Blanch and freeze leafy greens or tender stems within 24 hours of harvest. – Slice and dehydrate tomatoes, peppers, or onions for summer use. – Check your canning equipment to ensure the jar lifter and funnel are clean and ready. – Label all storage containers with the date and contents of what is inside. – Review your pantry rotation and use the oldest canned or dried goods for this week's meals.