The First Thing That Fails Is Ice
The first casualty of a hot summer day isn't the house structure or the vehicle security; it is the temperature inside a cooler. Within the first hour of direct sun or lack of airflow, a standard ice pack melts, the internal temperature creeps up, and perishable items begin the slow slide toward spoilage. The mess that follows – a puddle of melted water soaking through packing material, ruined sandwiches, and spoiled protein – is often the result of a decision made too late.
As an Amazon Associate, I earn from qualifying purchases.
When you drive into a neighborhood for travel or an outing, your vehicle becomes the primary storage point. If the ice fails before you reach your destination, you lose the food you intended to eat. This isn't just about hunger; it is about resource conservation. You have spent money on the food, you have spent energy driving to get it, and you have allocated shelf space in your pantry. If the cooler fails, those resources are wasted.
Why This Matters For Independence Week Neighborhood Readiness
During periods when neighborhoods are active and travel increases, the demand on local infrastructure and personal security heightens. The heat index often spikes, placing additional strain on residential power grids. If your home suffers a momentary power fluctuation or your vehicle breaks down on the road, your ability to store food safely is the next thing at risk.
This readiness is not about predicting a catastrophe; it is about maintaining the household's independence during normal heat waves that can last for days. If you are traveling when the power grid is stressed, you rely entirely on your transport's storage systems. If you are staying home but the neighborhood is quiet due to grid load shedding, you must still keep your food cold without relying on the central grid. The failure point is the moment your cooling mechanism stops working. You need to ensure your food remains safe without assuming the utility company will always provide power or the car battery will keep the compressor running indefinitely.
The Common Mistake: Waiting Until It Is Full
The most common mistake people make is packing a cooler until it is full of food, then placing the lid on and driving away. This approach assumes that food density equals thermal efficiency. In reality, overcrowding prevents cold air from circulating. When you pack a cooler completely full, the air inside cannot move. This stagnant air traps heat at the bottom of the cooler.
Furthermore, people often place warm food directly into the cooler before the ice has done its job. They grab pre-made meals or groceries from the kitchen that have sat on a counter or in a warm car. The ice melts immediately to absorb the heat from these warm items. The result is a cooler that reaches unsafe temperatures rapidly. You have reduced the ice's lifespan before the trip even begins.
Another frequent error is ignoring the geometry of the pack. If you build a wall of ice across the top, the cold air sinks but cannot reach the bottom where the food sits. If you place the food on top of the ice, the ice acts as a shelf that melts from underneath, allowing warm air to circulate around the food. You must pack specifically to allow the cold air to flow downward and the food to stay below the melting point.
The Recon Survival Practical System For Cooler Discipline
To reduce spoilage and avoidable loss, we must change how we pack and manage the cooler. This is a method of moving, weighing, and sealing. It relies on a simple truth: cold air sinks. Therefore, your coldest items must be at the bottom, your warmest items at the top, and your airflow must be unimpeded.
This system is built on three phases: preparation in the kitchen, loading the vehicle, and managing the duration of the trip. Each phase requires specific actions to ensure the cooler functions as a thermal battery.
Phase One: Pre-Cool The Components
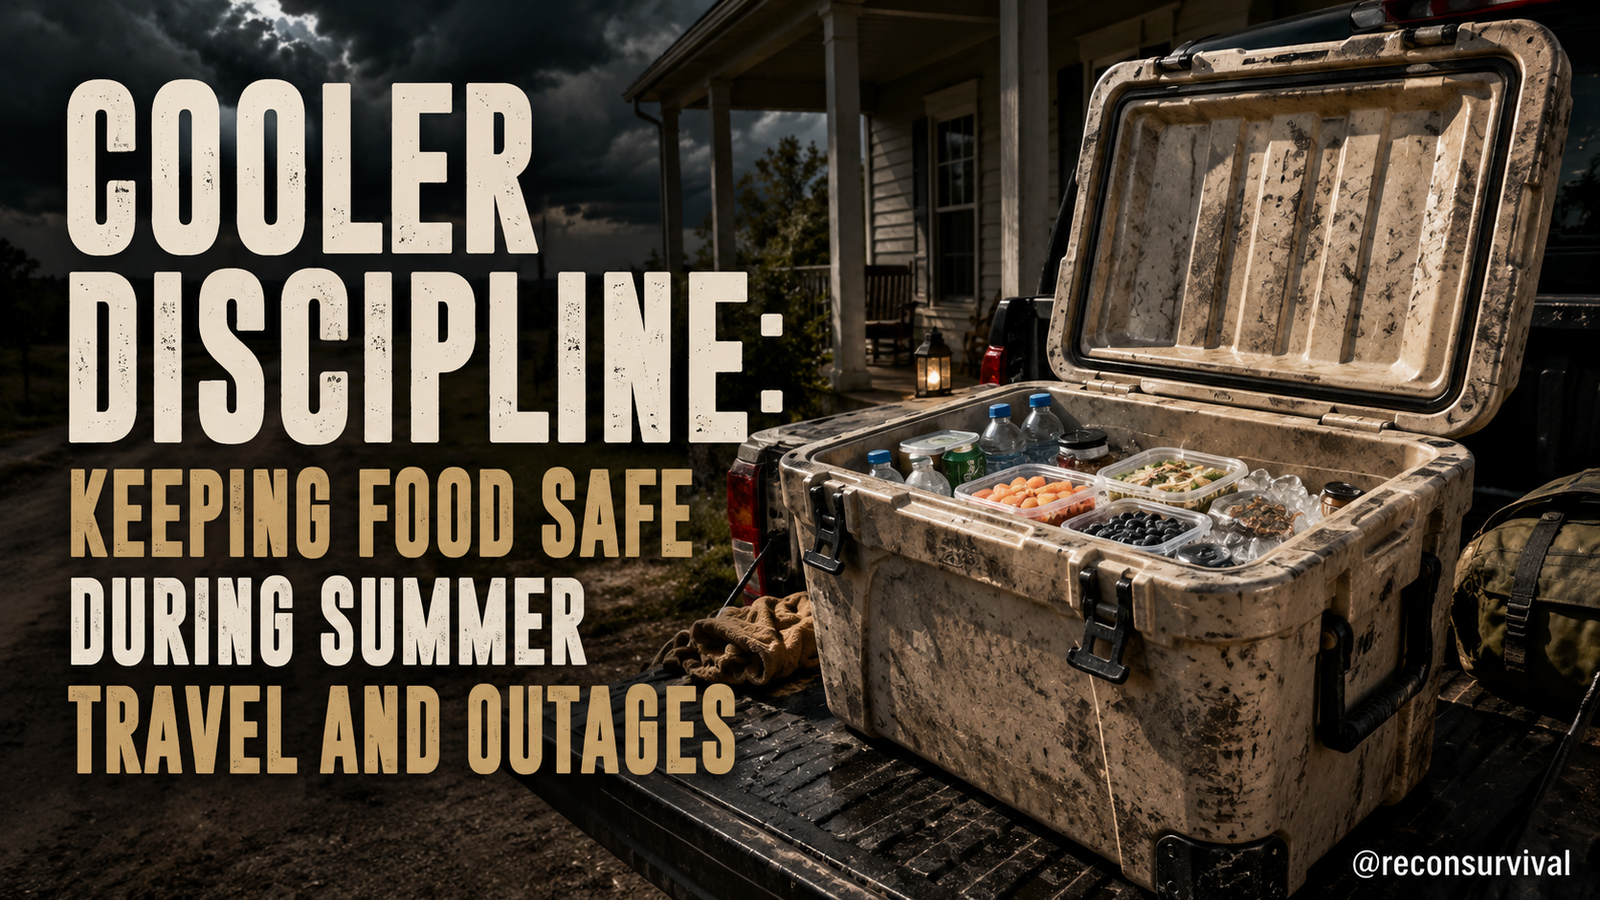
Before you pack the food, you must cool the container. Do not load a room-temperature cooler with ice. Fill the cooler with ice and let it sit for at least thirty minutes. While the ice melts into water, the cooler walls and bottom liner must reach near-freezing temperatures.
Select your food and pack it so that warm items are never introduced into the cold zone. Place raw meats and proteins on a separate tray or bag. Never place raw meat directly on the bottom shelf of a cooler if that shelf holds ready-to-eat items; cross-contamination and bacterial growth are real risks.
Phase Two: The Load Order
Pack the cooler in layers. Start with frozen items. Put frozen water bottles or ice packs at the very bottom. As the cold air sinks, it hits the ice pack first, maintaining the lowest temperature at the lowest point where your most perishable goods sit.
Place frozen items, followed by fresh proteins, then fresh vegetables, and finally dairy and ready-to-eat meals at the top. Do not fill the cooler to the brim. Leave one inch of air space at the top. This space allows for expansion and ensures the lid seals properly without trapping heat.
If you are carrying items that need to be warm, such as hot dogs or cheeseburgers, pack them in a separate insulated container or a different cooler. Do not mix hot and cold items in the same unit.
Phase Three: The Drive And Maintenance
Once in the vehicle, secure the cooler so it does not fall during transit. A leaking cooler creates a mess in the car, leading to mold growth and unpleasant odors. Check the seal of the lid every few hours. If the ice is melting, replace it with a block of ice that has been frozen in a cooler specifically designed to last longer.
If you are on a long drive, stop every two hours to check the temperature. Use a digital thermometer if you have one. If you do not, use your hand. The cooler should feel cold to the touch, not just damp. If you feel a pool of water at the bottom of the cooler, the ice has failed. Empty the water, remove the remaining ice, and replace it with fresh cold packs.
Phase Four: Post-Trip Triage
When you arrive at your destination, do not leave the food out. Transfer perishable items into a refrigerator immediately. If you do not have a refrigerator available, use a second cooler with ice for the remaining food. Never leave perishable food in a vehicle for more than two hours, or one hour if the ambient temperature is above ninety degrees.
Step By Step Execution For The Normal Household
This system is designed for a normal household without specialized gear. You can execute it using standard containers.
- Count Your Ice: Before leaving, count your ice packs or blocks. Determine if you need more based on the distance of your trip. If you are traveling for more than four hours, you will need to add more ice.
- Date Your Ice: Write the date and time on the ice pack or block. Replace ice that has been out of the freezer for more than two hours.
- Label Your Food: Use a marker to label containers with their contents and the date they were packed. This prevents you from eating spoiled food.
- Pack In Layers: Follow the layering order: frozen, frozen, proteins, vegetables, dairy.
- Seal The Lid: Close the lid and tape it shut with packing tape if you need to transport the cooler for a long duration. This prevents warm air from entering.
- Secure The Cooler: Use bungee cords or straps to secure the cooler to the floor of the vehicle.
- Check The Temperature: Use a thermometer to verify that the center of the cooler is at 40 degrees Fahrenheit or below.
Connect Supplies To Actual Meals, Water Use, Rotation, And Storage Conditions
Your cooler is not an isolated system; it connects to your pantry and water storage. When you pack a meal, it must be an actual meal that you intend to eat within a specific timeframe. If you do not have a plan to consume the food, do not pack it.
Use your pantry rotation to select items that are less likely to spoil if the cooler fails. Hard cheeses, cured meats, and dried fruits are more resilient than fresh fish or loose salad greens. If you pack a salad, keep the greens separate from the dressing until you are ready to eat. This extends the shelf life significantly.
Water is your friend. Use frozen water bottles as ice packs. They provide cold air and hydration. When the ice melts, you have drinking water. Do not pack plain ice cubes from your freezer if you can help it; they melt too quickly and dilute your food. Use gel packs if you have them, but plain frozen water is cheaper and more sustainable.
The Triad of Failure: Heat, Time, And Airflow
There are three factors that determine if your cooler works. Heat is the enemy. The higher the outside temperature, the faster the ice melts. Time is the measure of how long you leave the lid open or how long you drive. Airflow is the mechanism that moves cold air around the food.
If you ignore one of these three factors, the cooler will fail. If you ignore heat, your ice melts faster. If you ignore time, your food spoils. If you ignore airflow, your food sits in a warm pocket. You must manage all three.
When Things Go Wrong, Move Fast
If the first sign of trouble is melted ice, do not wait for the food to spoil. Transfer the remaining frozen items to a new container. Eat the food that is approaching the danger zone immediately. Do not gamble with your family's health. If the temperature rises above 40 degrees, the food is unsafe.
If you find that your vehicle is overheating or the engine is struggling, pull over immediately. A hot engine increases the ambient temperature inside the vehicle. A hot vehicle warms your cooler. Secure the cooler and move it to the shade if possible.
Next Day Check: Review Your Rotation And Stock Levels
After the trip, review your cooler. Did you lose any ice? How much food spoiled? Use this data to adjust your packing plan for the next trip. If you find that your ice melted too quickly, add more ice packs or switch to gel packs.
Check your inventory. Do you have enough frozen water bottles? Do you have enough ice packs? Replace them before you need them. Store the melted water in your water storage containers. This is a useful way to hydrate your vehicle's water supply.
Keep your cooler in a cool place when not in use. Do not leave it in a hot garage or the sun. Store it in a basement or a shaded area. This extends the life of your ice packs and keeps your food fresh.
Recon Survival Principle
Recon Survival is not about waiting for stress to make the decision. It is about turning weak signals into household action while the fix is still small. Pack and manage coolers to reduce spoilage, mess, and avoidable food loss.
Do Today
Take action now to improve your cooler discipline. Review the items in your pantry. Remove any spoiled food. Rotate your stock so that older items are used first. Pack a trial run cooler this weekend. Load it with meals you plan to eat for a weekend trip. Leave it in the shade for a few hours and check the temperature.
Secure your vehicle's storage. Ensure you have enough ice packs for your longest anticipated trip. Label your containers so you can identify them quickly in the dark or rain. Test your thermometers.
By following this triage guide, you ensure that your food remains safe and your resources are conserved. You are not just packing a cooler; you are preparing for a scenario where resources are limited and conditions are harsh. This discipline ensures that your household remains independent and secure, regardless of the weather or the grid status.
- Count stored water by person and day, then write the number where the household can see it.
- Date the oldest container and move it to the front of the rotation.
- Add extra water for pets, heat, illness, cooking, or anyone with higher needs.
- Stage the filter, clean pot, funnel, and water-moving container together.
- Write the no-power water sequence on paper: drink, cook, wash, flush, refill.
- Check every cap, container, shelf, and storage spot for leaks or heat exposure.
- Assign one person to refill, one to rotate, and one to recheck after the next alert.