A practical way to build a basic gravity-fed water access plan for outages without complex equipment, but most advice is either too generic, too gear-focused, or too late.
Early May is a strong time to solve water storage before summer storms and heat make water planning urgent. Today's focus addresses a very real problem: when the power grid fails or municipal pumps go silent, the water taps in your kitchen and bathroom stop working. Many families assume their tap water is always available, forgetting that local infrastructure relies on electricity and fuel just like your own home. Without a backup, a multi-day outage can leave you with no fresh drinking water within hours.
The Seasonal Window for Water Security
Right now, before the heat of summer and the peak of storm season set in, you have a narrow window to secure your water access. Summer storms can bring rain, but heavy downpours often saturate the ground or overwhelm municipal systems rather than filling them. When the heat comes, demand on cooling systems spikes, and grid failures become more likely. If you wait for a disaster to hit to plan your water supply, you will likely find that every household in your neighborhood is waiting for the same thing: a simple gravity-fed water access plan that works without complex equipment. The goal is not to hoard every drop of water you can store, but to ensure you have a reliable system to deliver what you already have.
The Danger of Waiting for the Perfect System
A common mistake people make with this topic is waiting to build a basic gravity-fed water access plan until they have expensive pumps or sophisticated filtration gear. This approach fails when power goes out, because those pumps rely on electricity. If the grid fails for even twenty-four hours, a pump-dependent system becomes useless. Another frequent error is assuming that storing water in one large container is enough. While bulk storage is useful, it requires moving heavy containers and cleaning equipment manually every time. By the time stress makes the decisions harder, you will be struggling to get water to the point of use. The most practical solution is to separate your storage from your delivery method, using gravity to do the work without consuming fuel or relying on a grid that could fail.
Building a Gravity-Fed Water Access Plan
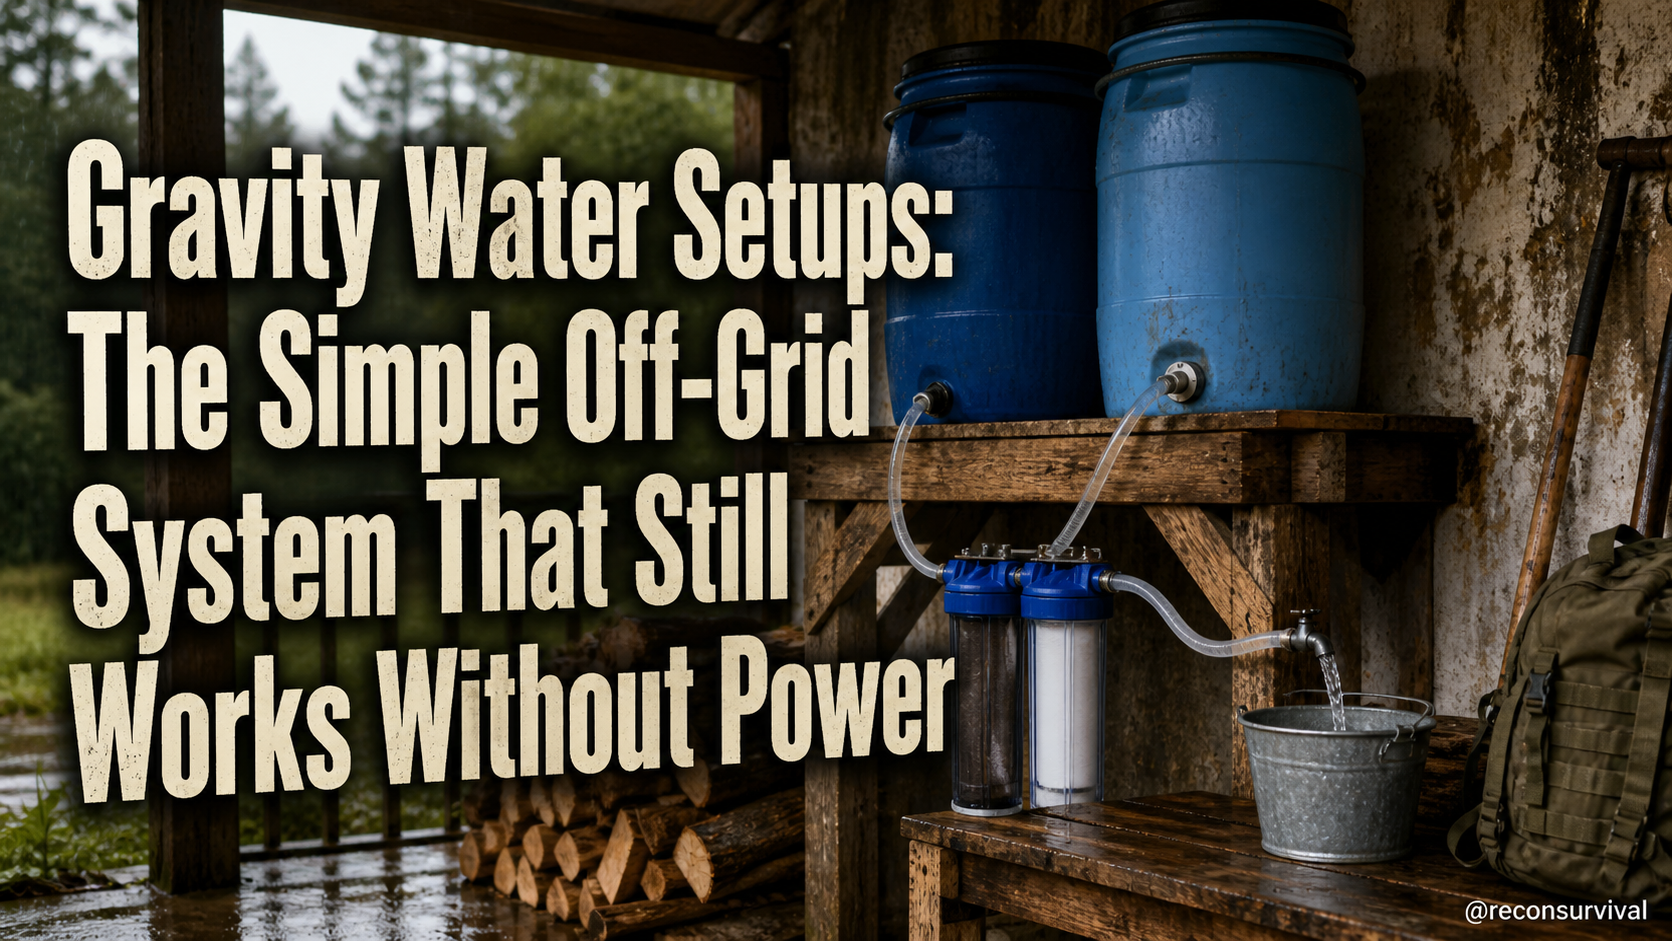
To build a basic gravity-fed water access plan for outages without complex equipment, you need three elements: high enough elevation, a sturdy container, and clear tubing. You do not need specialized off-the-shelf kits; standard materials found at hardware or home improvement stores work perfectly well. The core concept is simple: place your water reservoir higher than your point of use, and allow gravity to push the water out. This system works for days or weeks without power, provided you have a steady supply of pre-stored water in the reservoir.
Step-by-Step System Construction
Follow these practical steps to construct your system using a normal household's tools and space.
- Secure a Reservoir: Place a large food-grade container in the highest point you can safely use in your home. This is often a raised shelf, a second-story bathroom, or a dedicated stand. The container should hold at least 5 gallons to start, but larger is better if space allows.
- Mount the Tubing: Cut a length of aquarium tubing or small-diameter plastic pipe that runs from the bottom of your reservoir down to your drinking area. Do not run the tube along the floor where it can be stepped on; secure it to a wall or baseboard to keep it clear and accessible.
- Install a Check Valve: Place a check valve or a simple stopper near the top of the reservoir. This prevents water from draining out if your system is left unattended or if you accidentally lower the reservoir height.
- Create a Dipper: Attach a long handle to a dipper at the bottom of the tube so you can draw water out of the reservoir without touching the container itself.
- Test the Flow: Open your reservoir and observe the flow. Ensure the tubing is not kinked and that the outlet is not blocked by debris. Adjust the height of the reservoir if the flow is too slow or too fast.
Defining the Minimum Viable System
Before discussing upgrades, you must define what constitutes a minimum viable system. Your system is viable if you have a way to access stored water at the faucet or cup without using electricity or manual pumping. For a beginner to intermediate level, the minimum viable system includes one elevated reservoir, one tube, and one dipper. You do not need multiple reservoirs or complex plumbing immediately. Start with one container that holds 5 to 10 gallons. Once you are comfortable with the mechanics, you can add more containers or extend the tubing to other rooms. This phased approach prevents overwhelm and allows you to learn the system before you expand it.
Safety Limits and Maintenance
Water systems must be safe and functional when they are needed. A realistic failure point in this system is the accumulation of biofilm inside the tubing or the reservoir. To prevent this, flush your system regularly. If you are using tap water to fill your reservoir, ensure it is stored in a clean, sealed container. Check your tubing weekly for cracks, kinks, or mold growth. If you notice any discoloration or smell, replace the tubing immediately. Also, consider the height of your reservoir. If the reservoir is too high, the water pressure can become too strong, which might damage delicate fittings or cause splashing. Adjust the height so the water flows steadily but gently. Use food-grade containers only. Do not use buckets meant for chemicals or paints. Keep your reservoir out of direct sunlight to prevent algae growth. If your reservoir is in a bathroom, ensure the plumbing connections are secure and do not leak. Keep a manual pump available as a backup just in case your gravity flow is interrupted.
Recon Survival Principle
The most critical safety limit is knowing when your system fails and needs repair. If your tubing clogs or your reservoir cracks, you must act immediately. Never drink water from a reservoir that shows signs of contamination. If you store your water in a garage or shed, ensure the temperature stays within safe limits. Remember that your system is only as good as your maintenance routine. A simple weekly check of your tubing and reservoir is better than letting a small issue grow into a major failure.
Do Today
To build a basic gravity-fed water access plan for outages without complex equipment, start with these seven concrete actions:
- Identify a high shelf or stand in your home where you can place a water reservoir.
- Purchase a food-grade container that holds at least 5 gallons.
- Cut two feet of aquarium tubing and a simple check valve or stopper.
- Secure the tubing to a wall or baseboard to keep it clear of foot traffic.
- Attach a dipper to the end of the tubing to draw water easily.
- Label your container with the date filled and the maximum storage time.
- Test the flow and adjust the height of the reservoir as needed.
By completing these steps, you will have a working system in place before the next storm hits. This plan is practical, family-focused, and field-ready. It solves the real-world problem of water access during outages without relying on complex equipment or fear-based rhetoric.
Keep the standard practical: if the household cannot find it, use it, explain it, and repeat it under mild stress, the system is not finished. Write the owner and review date beside the item so the fix survives busy schedules, school nights, travel, and the first weather alert.
Close with a hands-on check. Touch the item, read the label, test the battery, confirm the contact, or walk the route. A plan that only exists in memory tends to fail at the first interruption.