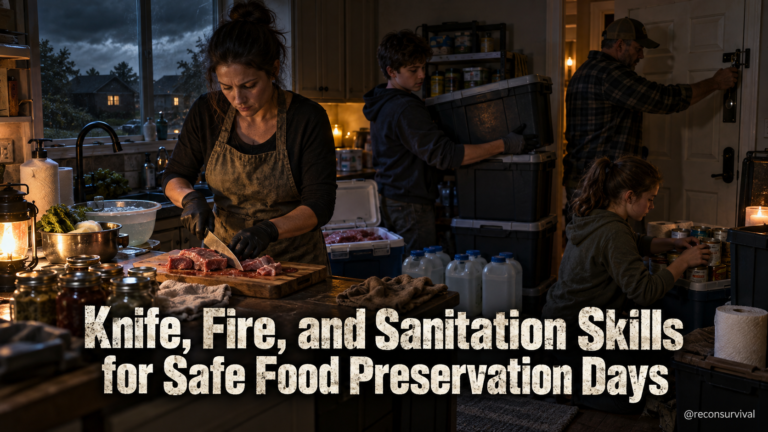
The First Thing to Spoil: A Triage for Your Preserved Food
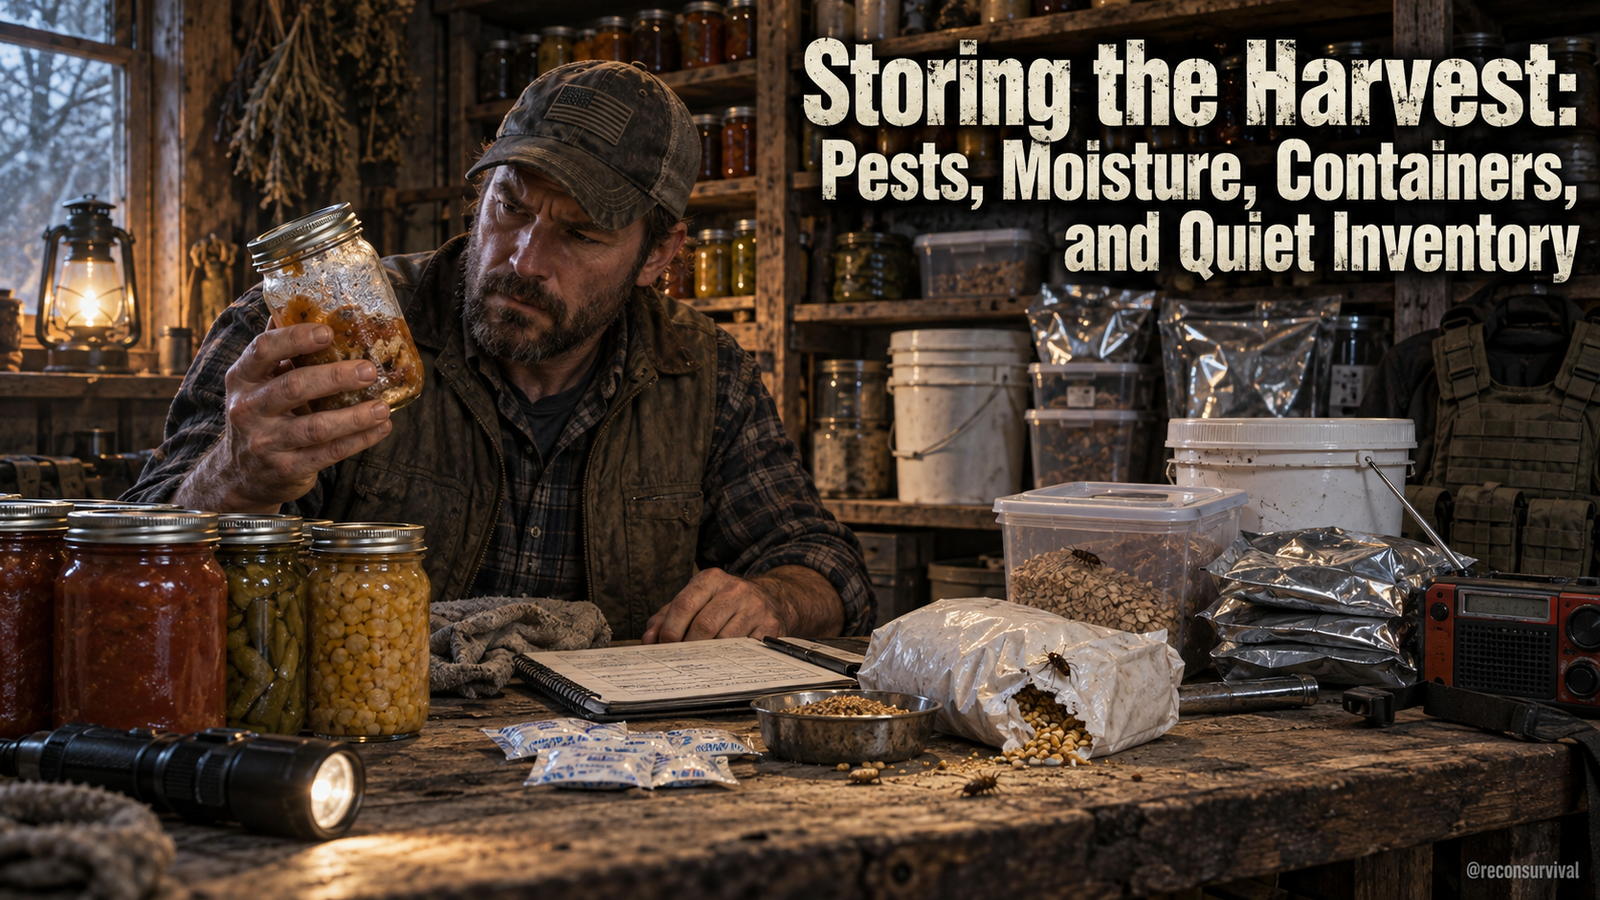
The first thing to go wrong isn't a total collapse of your pantry; it's the slow, silent failure of a single jar. It begins with a slow-sealing lid that fails to hold under heat, or a plastic container that lets moisture in just enough to foster invisible mold. When preservation fails, it rarely announces itself with a bang; it manifests as pests that chew through storage bags, heat that degrades nutrients before the food even looks bad, or the quiet, accidental waste of a crate left in the sun.
This slow erosion of quality is the most common mistake: waiting too long to secure the perimeter of your stored harvest against pests, moisture, heat, loss, and accidental waste. You might assume that once food is sealed, it is safe indefinitely. The reality of Recon Survival is that the environment outside the container is always testing the seal. Ignoring these vulnerabilities until they become a crisis means you have already lost the food's nutritional integrity.
Recon Survival Principle: Immediate Defense Against Degraders
The core principle governing all survival food storage is that preservation is a dynamic state, not a static condition. Once the seal is broken or compromised, the clock starts again. Therefore, the priority is not just "having" food, but maintaining the integrity of the seal against the four primary degraders.
- Moisture: The single greatest enemy of dry goods and rehydrated mixes. It invites mold and bacterial growth.
- Pests: Rodents and insects that can chew through thin plastic or cardboard, introducing contamination and loss.
- Heat: Accelerated chemical reactions that reduce shelf life and nutrient density, often hidden in unmonitored spaces.
- Accidental Waste: Physical loss due to poor labeling, stacking instability, or forgotten items in the back.
By focusing on these four, you create a system that protects the harvest without requiring expensive upgrades or aggressive security theater.
1. The First-Hour Triage: Sealing and Environment
When you first assess your stored food, do not start by counting cans or organizing labels. Start by checking the physical integrity of the storage environment and the seals. This is the "first-hour" check that prevents immediate loss.
- Check for Active Pests: Before moving anything, inspect the area for signs of gnawing or droppings. Ensure your storage containers are sealed tightly enough to be impenetrable to small rodents and insects. If you are using glass jars, check the rubber seals for cracks. If using plastic, ensure they are food-grade and not brittle.
- Assess Moisture Levels: If you are in a humid climate or a basement, check the relative humidity. Even a slightly damp floor or wall can ruin cardboard boxes and compromise dry goods over time. Immediate action involves moving items off the floor onto pallets or shelves and introducing desiccants (silica gel packs) into storage containers if necessary.
- Identify Heat Zones: Scan the storage area for direct sunlight or proximity to heating ducts. Heat is a silent killer of preserved food, accelerating oxidation and nutrient loss. Move any items near windows or heat sources to a cooler, more stable environment immediately.
This triage ensures that the most vulnerable items are secured against the most immediate threats before any further organization occurs.
2. Same-Day Organization: Containers and Visibility
Once the immediate threats are neutralized, the focus shifts to organization. The goal here is to prevent accidental waste and ensure that the food you need is visible and accessible without disturbing the rest of the supply.
- Switch to Rigid, Opaque Containers: If you are storing food in thin bags or non-opaque containers, transfer the contents to rigid, airtight containers. This protects against pests that can chew through plastic bags and blocks light, which degrades food quality. Opaque containers also hide the food from view, reducing the temptation to eat it "just to see what's inside" or accidentally knocking it over.
- Implement a Visual Inventory: A major cause of accidental waste is not knowing what you have. Create a simple, visible label for each container that includes the contents, the date of storage, and the expiration date (or "best by" date). Place these labels on the front of the container so you don't have to open it to check.
- Stack Securely: Ensure that heavier containers are on the bottom and lighter ones on top. Use stacking racks or shelves to maximize vertical space while ensuring that the weight distribution doesn't crush the containers below, which could lead to broken seals and spoilage.
This step transforms your storage from a pile of items into a functional, readable system where waste is minimized through visibility and stability.
3. Next-Day System: Routine and Verification
The final layer of defense is the establishment of a routine. A system that is not maintained will eventually fail, regardless of how good the containers are. This step ensures long-term success.
- Establish a Weekly Check: Set a recurring reminder to perform a "quick visual sweep" of your storage area. This is not a full audit, but a quick check to ensure no new pests have appeared, no moisture has accumulated, and no containers have been damaged.
- Rotate Your Stock: Implement a "first-in, first-out" (FIFO) system. When you take food from storage for use, replace it with the newer item. This ensures that older food is consumed before it degrades, preventing the accumulation of "expired" items in the back.
- Document and Update: After each check, update your inventory log. If you find a container is compromised or food is nearing expiration, move it to a "use immediately" bin so it doesn't get forgotten again.
By making these checks a routine, you transform food storage from a passive activity into an active management system that keeps your harvest safe, accessible, and ready for use.
Do Today
To begin securing your harvest immediately, take the following single action:
Inspect and relabel your most recent or most critical food container. Open the container, check the seal for integrity, ensure the lid is airtight, and apply a clear label with the contents and date. Move it to a cool, dry, pest-proof location if it isn't already. This step addresses the most common failure points – moisture, pests, and accidental waste – right now, setting the foundation for a robust storage system.