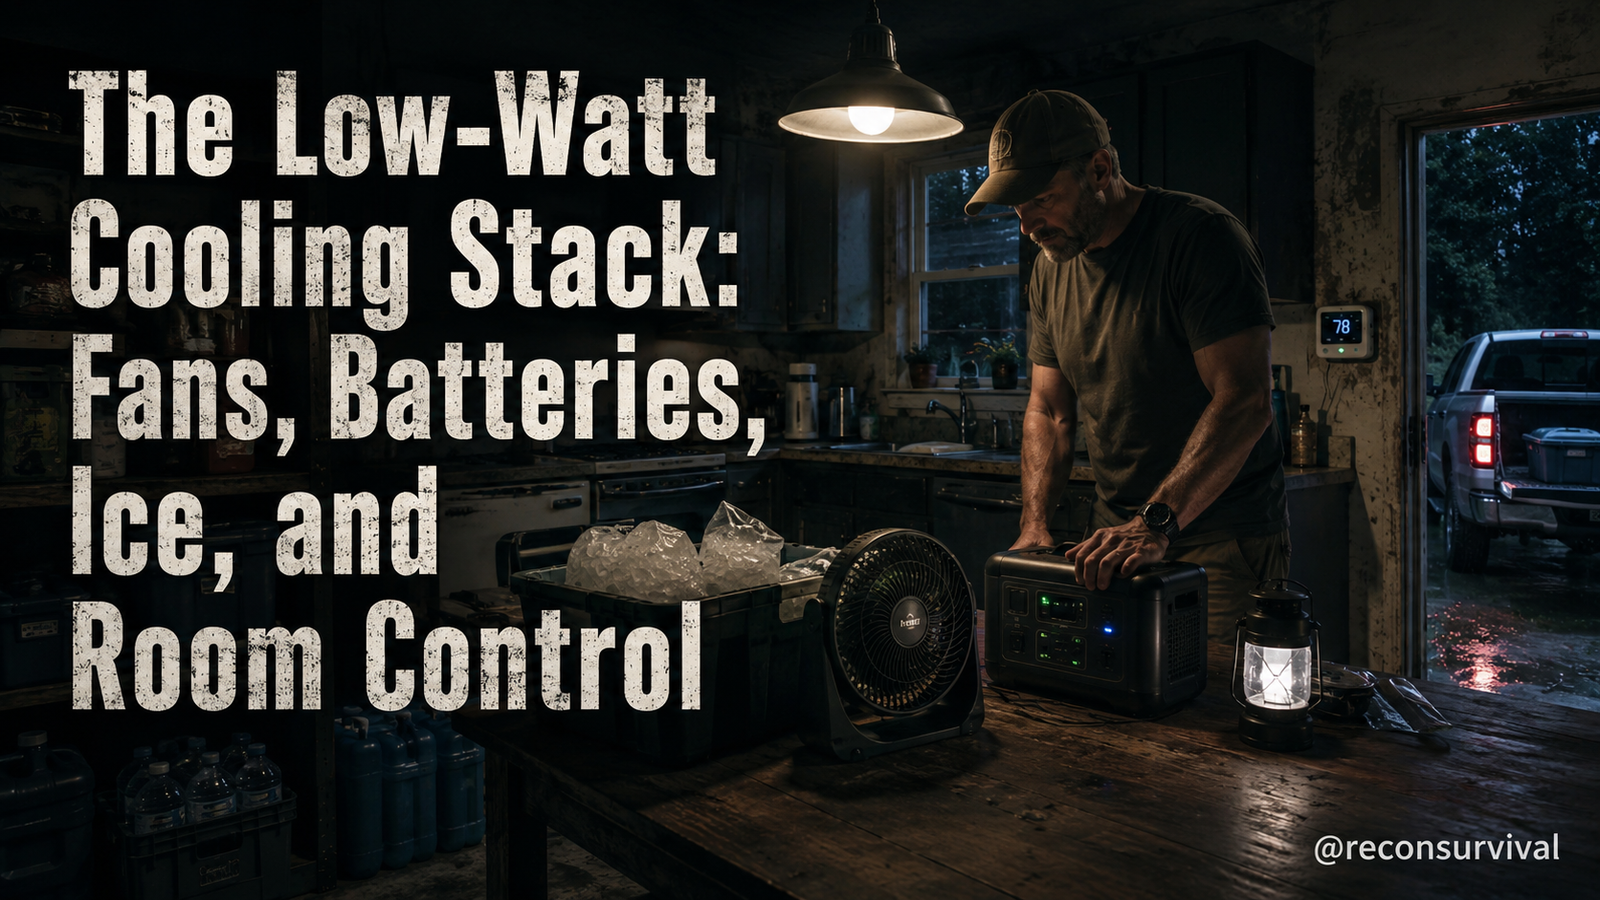
When the air conditioning stops or the grid goes dark, a quiet bedroom in July becomes a survival challenge. Heat builds in walls and floors, turning a standard summer evening into a hazardous environment within hours. This article addresses the real-world need to combine simple, low-watt tools into a functional cooling stack that protects a household when utility power fails. You are building a room-by-room defense using fans, batteries, ice, and physical controls to manage temperature and humidity.
As an Amazon Associate, I earn from qualifying purchases.
The Utility Closet and the Entry Point
Your first stop is the utility closet or the main breaker panel, where the reality of a grid outage starts. Check the labels on every breaker to confirm their function. Note which circuits control your cooling fans, dehumidifiers, or water pumps. If your primary cooling relies on a 120-volt compressor, it stops instantly when the grid fails. You need a plan that bypasses this dependency.
Look at the entry doors and windows of every room. Inspect weather stripping for gaps that let hot air in or conditioned air escape. In a backup scenario, these gaps are where heat enters the room before your cooling tools can work. Seal them with weather stripping tape or foam. Open the doors to the outside if the weather outside is cooler than inside, using cross-ventilation to your advantage. This step changes the room from a sealed heat trap to an exchangeable space.
The Bedroom Stack: Fans and Ice
Step 1: Locate the Ice Storage
Identify where you will store your ice before an event. The freezer is a natural ice bank. Label a specific shelf inside a large chest freezer for this purpose. When you are not freezing ice for daily use, keep a dedicated bin marked "Cooling Reserve" there. This bin should hold enough ice to run a portable fan for several hours without the freezer door opening often.
Step 2: Prepare the Fan Circulation
Pair a high-CFM battery fan with a power strip. Do not plug the fan directly into the wall outlet; use the battery system. Place the fan facing a window or a gap that allows hot air to exit and cool air to enter. Ensure the fan blades are clean and unobstructed. If the fan is corded and battery-operated, check the connection points on the battery terminals for corrosion.
Step 3: Manage the Thermal Mass
Place ice-filled buckets or frozen water jugs on top of the fan. The ice melts and releases cool moisture into the air flow, lowering the temperature. Position these containers on a stable surface in the room. Label the containers with the date they were frozen to ensure you rotate them so older ice is used first. This prevents the ice from thawing completely before you need it, which would waste the cooling potential.
The Living Area: Ventilation and Flow
The living room requires a different approach because it often generates more heat from appliances and human activity. The strategy here is airflow management rather than intense cooling. You cannot freeze an entire living room effectively, but you can prevent it from overheating.
Check the vents that lead to the outside. Ensure they are not blocked by furniture or heavy curtains. In a heat wave, keeping these vents open allows air to circulate. If your living room lacks direct outside access, create a thermal bridge by placing a fan facing an open window. The fan should point outward to push warm air out, drawing cooler air in from a shaded window on the opposite side.
Inspect the furniture in this room. Remove clutter that blocks air vents or windows. Move sofas and chairs away from heat sources like windows with direct sunlight. This reduces the thermal load on the room. If you have a rug that traps heat or moisture, consider moving it temporarily to allow air to reach the floor level.
The Kitchen: Water and Appliance Safety
The kitchen presents unique challenges regarding water and appliance safety. Your water supply may be compromised if pumps fail, and your appliances must be handled with care.
Check your water storage system. Ensure you have containers for drinking and cooking that are sealed and dated. In July heat, water in plastic containers can reach unsafe temperatures. Store water in the coolest part of the pantry or in a shaded basement. If you have a water filter, check the cartridge and ensure the housing is clean.
Inspect your appliances. Turn off any equipment that does not need power. Unplug small appliances that generate heat, such as toasters or microwaves, to reduce the thermal load on the room. Keep the kitchen fan running if it is battery-operated, but do not overwork it. Use the fan to circulate air, not to cool the space to a specific temperature. Monitor the temperature with a thermometer. If it exceeds safe limits for food storage, prioritize moving perishables to a cooler location.
Safety Limits and Maintenance
Every cooling stack has failure points. Understanding these limits is essential for safety. Your fans rely on batteries, which have finite charge cycles. Your ice will melt over time. Your ventilation relies on weather conditions outside.
Check Battery Health
Test your battery packs regularly. Write the date of the test on the battery casing. If a battery does not hold a charge, replace it immediately. Do not wait for a full discharge, as deep cycling can permanently damage rechargeable cells. Store batteries in a cool, dry place to prevent degradation.
Inspect Fan Blades and Filters
Open the fan housing and check for dust or debris on the blades. Clean them with a cloth or brush. Replace air filters in any forced-air systems or HVAC units if they are clogged. A dirty filter reduces airflow and increases the risk of overheating.
Monitor Humidity and Heat
Keep a thermometer and hygrometer in each room. If humidity exceeds 60%, evaporation from the ice will become less effective. In this case, prioritize removing moisture sources like wet clothes or plants. If temperatures rise above 100 degrees, rely on evaporation from the ice buckets to lower the perceived temperature rather than expecting a direct temperature drop.
Prevent Carbon Monoxide
Never run a generator or gas heater inside a closed space. Even a small leak can be fatal. Keep carbon monoxide detectors active and test them monthly. Ensure that any combustion device has a chimney or vent pipe that leads directly to the outside.
Recon Survival Principle
The Recon Survival Principle for this stack is simple: Prioritize air movement over extreme temperature drops. A cool breeze feels comfortable at 75 degrees Fahrenheit, whereas 90 degrees still air feels oppressive and dangerous. Your goal is to create a draft that prevents heat from accumulating. This principle guides your decisions on where to place fans, how much ice to use, and which rooms to prioritize.
Minimum Viable System
Before adding complex equipment, define the minimum viable system. You do not need expensive generators or specialized coolers. You need a battery fan, a source of ice, and a way to direct airflow.
Components:
- One 12V DC fan rated for at least 4 hours of runtime.
- One rechargeable battery pack or two D-cell batteries for portable fans.
- Two buckets or jugs for ice or frozen water.
- One thermometer and one hygrometer per room.
- Weather stripping tape and foam sealant.
Assembly:
Place the fan in front of a window. Put the ice buckets on the floor in front of the fan, not on the table. This creates a cold air plenum near the floor. Seal the window around the fan if possible. If you cannot seal the window, use a towel or blanket to block hot air from the sides.
Rotation Plan:
Assign a family member to check the ice levels daily. When the ice melts, rotate the buckets to mix the water. Refill the freezer to replace the ice. If the battery runs out, recharge it or swap it with a backup pack. This rotation plan ensures the system remains functional.
Upgrades and Future Steps
Once the minimum viable system is running, you can consider upgrades.
Add a Generator
If you have access to a generator, use it to power your central air conditioning or a whole-house fan. This restores full comfort rather than relying on evaporation cooling. Connect the generator to a transfer switch or extension cords carefully, ensuring no backfeed occurs.
Install a Dehumidifier
In humid climates, a battery-operated dehumidifier can be a game changer. Place it in the room with the highest humidity. Run it until the relative humidity drops to 50%. Then, turn it off to save battery life. This reduces the thermal load on your cooling stack.
Upgrade Battery Capacity
Invest in larger capacity batteries or a power bank system. These systems can run multiple fans for longer periods. Choose batteries with high discharge ratings suitable for your fan's current draw. Test the system under load to ensure it meets your needs.
Plan for Long-Term Storage
Freeze water jugs a few days before an event. Store them in a shaded garage or basement. Label them clearly. This prevents the need to open the freezer door during an event, which would raise the internal temperature of the freezer and waste the ice supply.
Do Today
Start with the immediate tasks listed below. These actions will improve your current setup and prepare you for the next heat wave.
- Inspect all fans. Check blades, cords, and battery connections. Clean any dust or debris. Replace any broken parts immediately.
- Fill your ice storage. Fill the freezer with water containers and let them freeze. Label the date on each container.
- Seal entry points. Apply weather stripping tape to gaps around windows and doors. Check for drafts with a lit candle or piece of paper.
- Test battery systems. Run each fan on battery power for 30 minutes to verify functionality. Record the runtime.
- Set up monitoring. Place thermometers in key rooms. Write down the current readings. Note any areas that feel hotter than others.
- Review your plan. Sit down with your household. Explain how the stack works. Assign roles for rotating ice and checking batteries.
This structured approach ensures you are ready when the power goes down. By focusing on physical locations and concrete tools, you build a resilient home that protects your family from the heat. Remember that preparation is key. The more you practice these steps now, the more confident and capable you will be when the event starts. Stay calm, stay prepared, and keep your family safe.
- Assign one person to refill, one to rotate, and one to recheck after the next alert.