Early November is the time to winterize outdoor systems before repeated cold makes small problems bigger.
As an Amazon Associate, I earn from qualifying purchases.
This matters because cold stress amplifies failures. A lid that leaks a little in September can let feed spoil by January. A cover that fits loosely now will let rain freeze into ice and block airflow when snow falls. Addressing these systems now keeps the margin for error wider when the weather turns against you.
The most common mistake is assuming the first frost is the signal to act. By the time you see frost on the ground, you often need to make decisions in the dark, or with frozen hands, while the ground is too soft to move heavy items. Waiting for the cold to be obvious makes the work harder and more urgent than it needs to be.
A Practical System for Cold Mornings
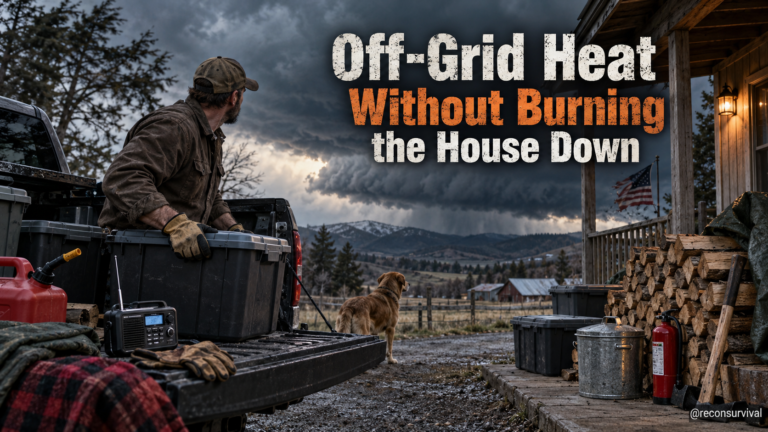
Start with the first physical check: inspect the firewood cover and check the feed container lids for damage.
This step beats a generic reminder because it finds the specific failure point before the cold locks it in place. If the firewood cover allows rain to soak the wood, the wood will be too damp to burn efficiently when you need heat. If the feed container lid has a crack or a missing gasket, moisture will enter, and the feed will clump or spoil.
Steps for a Small Backyard or Homestead
Apply this system to the scale of a small backyard or small homestead. You do not need a commercial-grade facility to make these systems resilient.
1. Inspect the Firewood Cover
Check the cover over your woodpile. Look for tears, missing straps, or gaps where rain could run in. * Action: Pull the cover tight. If the plastic is brittle or torn, patch it with tape or move the wood to a spot with better overhead protection. * Reason: Wet wood does not burn well and can cause smoke issues or poor heat output. * Failure Sign: Dark spots on the wood surface or a musty smell when you lift the cover. * Tradeoff: A tight, fitted cover costs more upfront but saves the effort of drying wet wood later. A tarp held down with rocks is a lower-cost option that works if checked regularly.
2. Check Feed Container Lids
Walk through your feed storage area. Inspect the lids on containers holding grain, oats, or hay. * Action: Close and open each lid. Look for cracks, broken latches, or gaps where rodents could enter. * Reason: Small openings allow moisture in, leading to clumping or mold, which can make feed unpalatable or dangerous for animals. * Failure Sign: Feed that feels damp, clumped together, or has a sour smell. * Constraint: Do not attempt to open sealed containers in freezing temperatures if the plastic has become brittle; handle them to avoid cracking.
3. Assess Bedding and Shelter
Move to where animals or children might spend time outdoors. * Action: Check the depth of bedding in shelters and ensure the shelter structure is free of debris that could block ventilation. * Reason: Moisture accumulates in bedding during winter. Deep, dry bedding insulates better than shallow, damp material. * Failure Sign: Mud forming at the bottom of the bedding area or dampness on the walls of the shelter.
4. Protect Tools and Soil
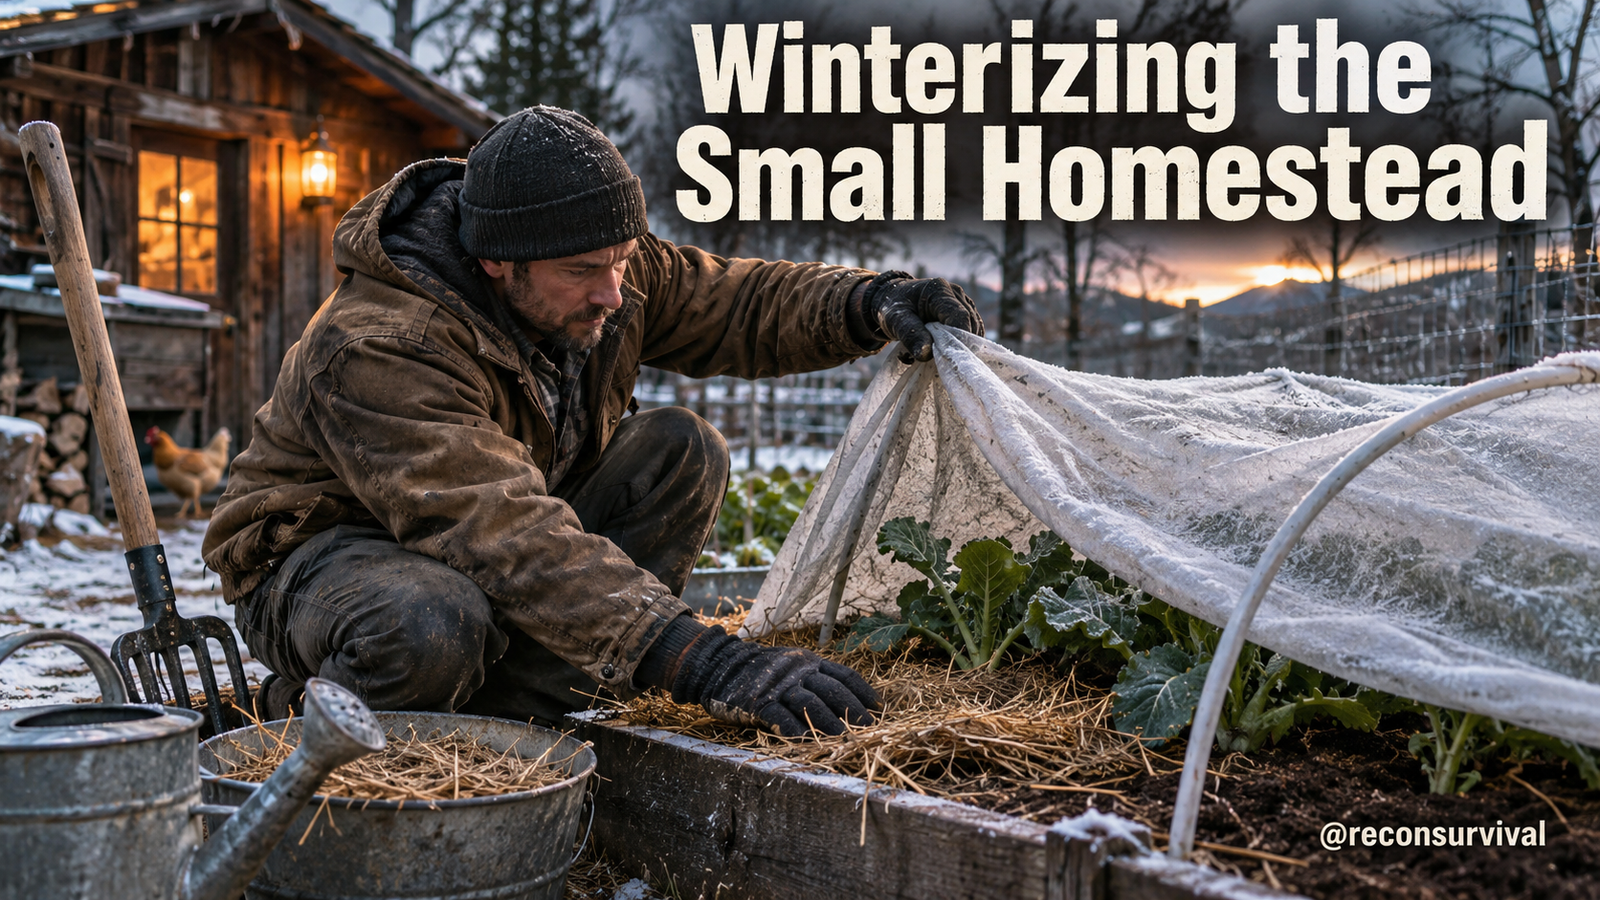
Look at your hand tools and garden beds. * Action: Clean tools and store them in a dry place. Cover garden beds with a layer of straw or mulch if the soil is bare. * Reason: Rust forms faster on wet tools left outside in freezing rain. Bare soil can wash away or freeze into hard clods that damage roots in the spring. * Failure Sign: Tools that are pitted with rust or garden beds where the soil surface has eroded into ruts. * Tradeoff: Using mulch adds cost and requires removal in spring, but it preserves soil structure and reduces erosion.
Low-Cost Option and Durable Upgrade
For a low-cost approach, rely on materials you already have. Use heavy-duty tarps to cover wood and feed, secured with ropes or rocks. Check existing lids and tape over small cracks. This works if you inspect it weekly.
For a more durable upgrade, invest in latching lids designed for outdoor storage, or move feed to a shed with a solid floor. Use a fitted, UV-resistant cover for woodpiles that stays in place without constant adjustment.
Recon Survival Takeaway
The garden teaches you the difference between hope and a system. Hope is hoping the lid stays closed; a system is checking the lid every few weeks so you know it will hold when the snow starts. Preparing now reduces the stress of making decisions when the cold is already biting.
Your Action Plan
Before the weather makes this harder, do one readiness action today:
- Inspect the firewood cover for gaps or tears.
- Check the feed container lids for cracks or poor seals.
Fix what is loose or broken now. This clears the path for the rest of your winter preparation.