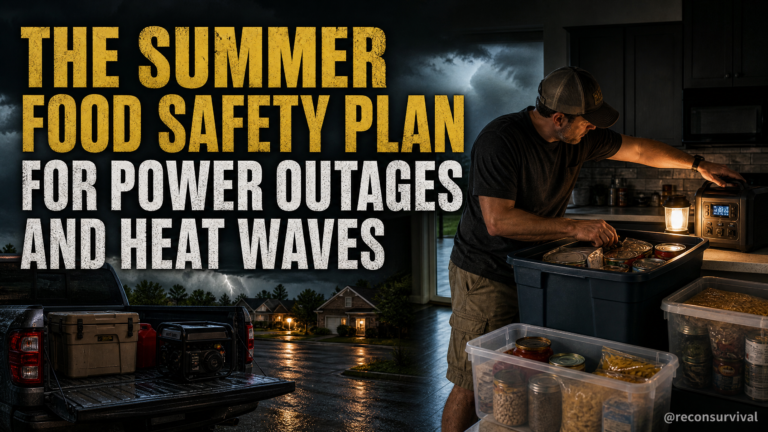
A cooler fails in the first hour when you open the lid too early, let warm air flood in, or when you pack it like a suitcase instead of a rotation system. The result is melted ice, warm food, and a wasted investment. This happens most often when a power outage or a sudden heat wave hits and the household has not practiced the specific routine of packing, labeling, staging, and opening coolers to protect food longer.
Triage Ladder: First-Hour, Same-Day, and Next-Day Checks
Before you worry about the long term, you need a way to assess the immediate state of your cold storage. In the first hour of a heat event or power loss, check the ice level. If the ice is melting fast and the temperature feels warm to the touch on the outside, the seal or the packing order is the failure point. This is a first-hour check that determines if you need to move items to a backup cooler immediately.
By the same day, you must verify the labeling on your containers. If you cannot read the date or the contents because the marker has run out or the label has fallen off, you are at risk of throwing away safe food or, worse, consuming spoiled items. This is a same-day check that requires a quick inventory of every cooler in the house.
The next-day check is about the rotation system itself. Did you consume the oldest items first? Did you refill the ice in the correct order? If you find that the new food was put in first while old items sat on top, the rotation failed. This check ensures that your system actually works under stress, not just when you have time to think.
The Failure Point: Packing Like a Suitcase
The most common mistake people make is packing a cooler like a suitcase. You shove items in loosely, leaving large air pockets, and you place the ice on top of everything. This allows cold air to escape when you open the lid, and the ice melts unevenly. The result is that your food sits in warm water while the ice is gone.
This approach ignores the physics of cold air. Cold air sinks, so if you put the ice on top, it works for a short time but then the warm air from the bottom rises. When you open the cooler, that warm air rushes in, and the ice melts rapidly. This is a failure point that can turn a day of camping into a disaster of food safety.
Pack, Label, Stage, and Open: The Practical Rotation
Start with the packing order. Place your block ice or large ice bricks at the bottom. This creates a cold base that the air can sink into. Pack your food tightly around the ice, leaving no large gaps. Gaps allow warm air to circulate. If you have items that must stay cold for a longer period, put them deep in the center, surrounded by ice and other food. If you need items you will eat immediately, place them at the very top or in a separate, easy-to-reach zone.
Labeling and Staging for Calm Decisions
You must label every item and every container with the date it was packed and the contents. Use a permanent marker on waterproof tape or printed labels that can withstand moisture. Write the date clearly on the outside of the container. This allows you to see at a glance which items are oldest and need to be eaten first.
Staging is the next critical step. Keep your coolers staged in a specific location, ideally in a shaded, cool area like a garage or a covered porch. Do not leave them in direct sun or in a hot car unless absolutely necessary. Staging means having a dedicated spot where the coolers are ready to go, with all the necessary tools like tongs, ice bags, and extra ice within reach.
When it is time to open a cooler, do it with a plan. Open only one cooler at a time. Do not let the lid stay open for more than a few seconds. Have your team ready to grab what they need and close the lid immediately. This practice reduces the amount of warm air that enters the cooler and keeps the ice from melting faster than necessary.
A Beginner Drill: The One-Hour Test
To practice this skill safely, run a one-hour test. Choose one cooler and one day of the week when you are not in a crisis. Fill it with water and ice in the correct packing order. Label the items. Stage the cooler in its normal spot. Then, have a family member simulate an emergency opening. They should open the cooler, take one item, and close it within 30 seconds.
After the drill, check the water level and the ice condition. Was the water still cold? Did the ice melt significantly? Did the team follow the rule of opening only one cooler? This drill gives you a baseline. If the ice melts too fast, you know you need to adjust your packing or your opening habits. If the labeling is hard to read, you need better markers or labels.
Measuring Improvement in the Field
You can measure whether your skill is improving by tracking the ice retention over time. Start a simple log. Note the time you packed the cooler, the type and amount of ice used, and the time you opened it. After the event, check the remaining ice and the temperature of the food. If the ice lasts longer and the food stays cold for the required time, your system is working.
Another metric is the time it takes to locate items. If you can find the oldest food in under 30 seconds without rummaging, your labeling and staging are effective. If you are still digging through layers of ice and food, your system needs refinement. The goal is a smooth, fast process that minimizes the time the cooler is open.
Recon Survival Principle
The principle here is that cold storage is a system, not just a container. A cooler only works if you manage the air, the ice, and the items inside as a coordinated unit. When you treat the cooler as a rotating inventory, you reduce waste and increase safety. The most effective way to protect food is to pack it correctly, label it clearly, stage it properly, and open it with discipline.
Do Today
To build this skill, take these specific actions today:
- Count your coolers and identify which one will be your primary rotation unit.
- Date your oldest perishable items with a permanent marker and label them with contents.
- Test your ice by placing a block in the bottom of a cooler and filling it with water to simulate a cold pack.
- Label every container in the cooler with the date it was packed and the contents.
- Stage the cooler in a cool, shaded location away from direct sunlight and heat sources.
- Pair each cooler with a dedicated set of tools: tongs, ice bags, and a thermometer.
- Walk through the opening sequence with your family, timing how long it takes to grab an item and close the lid.
- Rotate your ice by moving the oldest ice to the front of the rotation if you are using multiple coolers.
- Refill the ice in the primary cooler with fresh ice if the temperature rises above the safe zone.
- Charge your cooler with the correct amount of ice for the expected duration of use.
- Trim any excess ice that is not needed to fit the load, ensuring a tight pack.
- Weigh the cooler if you need to transport it, ensuring it is not too heavy to move safely.
- Recheck the temperature of the food after one hour to ensure it is still cold.
- Write a note on the cooler lid with the date you packed it and the expected unpacking time.
- Open the cooler only when necessary, keeping the lid closed for the rest of the time.
This routine turns your cooler into a reliable tool that keeps food safe and cold, even when the weather is hot or the power is out. By following these steps, you build a system that works for your family and reduces the risk of food waste.