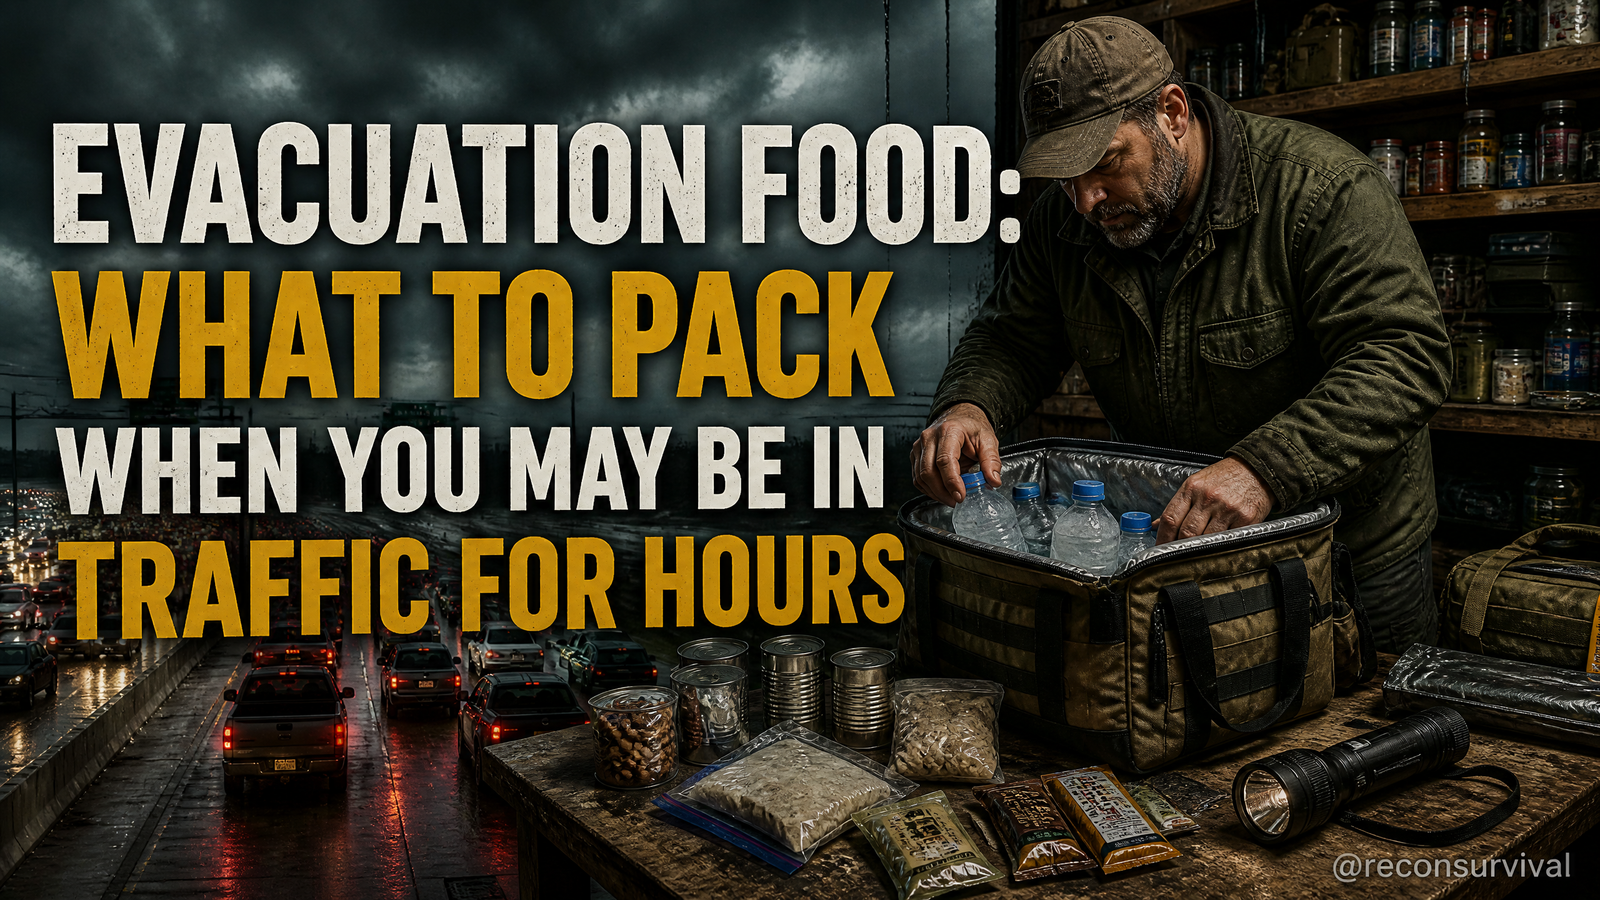
Gridlock turns small problems into big ones fast. In a hot car, ice disappears, kids get thirsty, and sticky snacks explode in the back seat. If you lock down water, cold, and no-cook meals before wheels roll, traffic becomes an inconvenience instead of a crisis.
As an Amazon Associate, I earn from qualifying purchases.
The First Thing That Fails: Ice and Appetite in a Hot Car
In evacuation traffic, the first failure is cold. A cooler that sat in the garage warms up, you toss in a bag of ice, open it ten times in the first hour, and now everything you cared about keeping cold is sitting in melt water. The second failure is appetite. People stuck in a seat belt will not eat a messy tuna can with a sharp lid. They will eat easy, single-serve foods they can open with one hand.
Plan from those two weak points and you'll avoid waste and keep energy steady. Start with a pre-chilled cooler, solid ice, and sealed foods you can open without tools. Put the cooler where it stays shaded and closed. Put the food people reach for where they can actually reach it, not under a duffel in the trunk.
Evacuation vs Bug-In: Your Kitchen Is Now the Vehicle
Bug-in plans lean on your fridge, stove, and sink. Evacuation steals all three. In the vehicle, every bite must be shelf-stable or safely kept cold. Every sip must be planned, because refills might be miles away or closed. You need water you can reach without stopping, meals that do not require heat, and a cleanup plan that works in a seat.
That shift changes your packing order. The cabin becomes your kitchen. Door pockets hold water. The center console holds wipes and utensils. The passenger footwell holds the day bag with no-cook meals. The trunk holds the reserve bin and extra water. If you treat the trunk like a pantry, you won't bury the only thing your 4-year-old will eat under a pile of rain jackets.
The Common Mistake: Fridge Food + One Bag of Ice
Most people wait too long and then sweep whatever looks good out of the fridge into a cooler with one small bag of ice. In traffic, that leads to warm dairy, soggy containers, and nothing kid-friendly left by mid-afternoon. The other half of the mistake is water. Households either bring too little or pack it where no one can reach it without pulling over and unpacking half the car.
Fix it with portioning, access, and rotation. Pack individual servings, not family-size tubs. Stage reach items forward, base load in the back. Label bottles so people don't "start a new one" every time. Rotate the car kit into your pantry so nothing expires in a hot trunk.
Vehicle Water: Quantities, Access, and Heat
Water is weight and life. Plan it in layers so the right amount is easy to reach and the reserve stays protected from heat.
- Quantities to stage:
- Baseline: 1 gallon per person per day of travel stored in the vehicle.
- Access layer: 2 to 3 small bottles per person up front. Keep them in door pockets and a soft-sided organizer on the passenger floor.
- Electrolytes: 2 packets or tablets per person per day. Heat and stress increase losses; use these to stretch water smartly.
- Packing layout:
- Front: One labeled bottle per person with a line marked at halfway. Write names and time blocks on painter's tape.
- Mid-cabin: A small tote behind the center console with extra bottles and cups with lids to reduce spills.
- Trunk: 1-3 gallon jugs or canteens strapped so they do not roll. Add a collapsible water container and a small hand pump or spout adapter for easy pouring.
- Heat management:
- Keep access bottles shaded in door pockets and under a dashboard sunshade when parked.
- Freeze a few bottles solid the night before to double as ice in the cooler. As they thaw, move them to the access layer.
- Do not bury all the water in the trunk. Put at least half a day's worth within arm's reach of each seating row.
Add a small trash bag to collect caps and wrappers so debris does not jam seat rails or pedals.
Coolers, Ice, and Where to Put Them in the Car
Cooler strategy determines what food you can trust by late afternoon. Use the cooler for true perishables only and keep it cold by opening it less.
- Tools and prep:
- 1 sturdy cooler with a tight lid. Pre-chill it for a few hours with ice or frozen bottles before loading.
- 2 large block ice pieces or several frozen bottles. Blocks last longer than loose cubes.
- 1 digital fridge thermometer you can glance at when you open the lid. If you don't have one, rely on ice presence and touch.
- Towels to create layers and absorb melt.
- Loading order:
- Coldest items at the bottom between blocks. Put frequently used items near the top in a small caddy so you can grab them without digging.
- Keep sauces and mayo in single-serve packets and only what you'll use that day.
- Cooler placement:
- Cabin shade beats trunk heat. Place the cooler on the second-row floor behind the front seats, away from direct sun.
- Use a reflective windshield shade and a light-colored towel over the cooler lid.
- Open it on a schedule, not every time someone is bored. Group drink grabs and sandwich assembly.
- When to pivot:
- If solid ice is gone and the contents feel warm to the touch, stop relying on perishable foods. Shift to your shelf-stable meal plan and use the cooler for drinks only.
- Drain melt water only if packaging is getting soggy. Cold water around ice can still help keep temperatures down.
Traffic Meals: No-Cook Units You Can Open One-Handed
Every seat should have access to food that will not make a mess and does not require a can opener. Build meals as "units" that pair protein, carbs, and something wet.
- No-cook meal units:
- Protein pouches: tuna, chicken, or shelf-stable bean dips. Pair with tortillas or sturdy crackers.
- Nut or seed butter squeeze packs with tortillas or pretzels.
- Ready-to-eat rice or grain pouches to share with protein pouches when stopped.
- Jerky or meat sticks with applesauce pouches and nuts.
- Hummus cups with pita chips. Keep these in the cooler and eat them in the first window.
- Snack support:
- Trail mix without chocolate, granola bars that do not melt, plain crackers, dried fruit, fruit cups in juice, and shelf-stable milk boxes.
- Avoid crumb bombs. Choose bars that hold shape and crackers packed in small tins.
- Add a few comfort items like mints or hard candy for motion queasiness.
- Tools in the console:
- 1 small blunt butter knife, 2-4 sporks, 1 small cutting board or stiff paper plate, napkins, hand wipes, and a few zipper bags for leftovers.
- Scissors to open tough pouches without spraying contents across the dashboard.
- Portion control:
- Pre-pack snack bags labeled with names. One bag per person, per 2-3 hours, reduces fights and waste.
- Write a simple "meal card" for the day: Lunch at 12, Snack at 2, Meal at 5. Tape it to the glove box so kids stop asking.
Kid-Friendly Packs That Don't Melt or Crumble Everywhere
Hungry kids drain morale and water. Solve it with small, predictable, and clean options.
- Build kid packs in quart-size zipper bags:
- 1 shelf-stable main: peanut butter squeeze pack with mini tortillas, or a chicken pouch with crackers.
- 1 fruit: applesauce pouch or fruit cup with a plastic spoon.
- 1 crunch: pretzels or a small container of cereal.
- 1 treat: a lollipop, gummy fruit, or mints.
- 1 wet wipe and a napkin.
- Access and rules:
- Store kid packs in a seat-back organizer by child. They ask, you hand them a bag. Trash goes back in the bag.
- Set a "water first" rule: two big sips of water before opening a snack.
- For car-sick riders, keep bland crackers up front and a lined bag within reach. Vent air gently toward them and avoid rich foods early.
- Allergy and age notes:
- Keep allergen-containing items in separate bags and label clearly.
- For toddlers, avoid small hard candies and nuts. Use pouches, soft bars, and cut fruit cups only when parked.
Staging: Front Seat, Floor Bag, Trunk Bin
If the right items are within reach, you will not tear the car apart on the shoulder.
- Front seat loadout:
- Center console: utensils, wipes, napkins, scissors, electrolyte packets, small trash bags.
- Door pocket: your labeled water bottle and one spare.
- Glove box: a printed inventory card of food and water, a permanent marker, painter's tape for labels.
- Passenger footwell day bag:
- Today's meals and snacks, organized by person.
- Small cooler caddy on top with frequently used cold items.
- Paper towels roll wedged tight so it doesn't unwind.
- Second row:
- Seat-back organizers with kid packs and a soft tote with extra bottles.
- The main cooler on the floor, shaded.
- Trunk base load:
- Reserve bin with shelf-stable meals for at least one extra day: extra pouches, tortillas in a hard container, dry fruit, extra bars.
- 1-3 gallon jugs or canteens strapped down.
- A compact foldable crate to bring supplies forward quickly at a stop.
- Keep the spare tire accessible. Do a practice pull: can you get the jack without unloading everything?
Pantry and Water Rotation That Doesn't Waste Food
Car food dies in storage when it's forgotten. Tie your evacuation kit to your normal pantry so it stays fresh.
- Create a "car food" shelf:
- Put a clear bin on a low pantry shelf labeled "Car Meals." Stock it with the same no-cook units you'll pack in the vehicle.
- Date the top of each item with a marker. Oldest rides in the car for errands and practice days, then gets eaten at home.
- Rotation rhythm:
- First weekend of each quarter: move the oldest car foods to the kitchen, restock from the pantry, and replace what you ate on the grocery list.
- Write the quarter and year on gallon jugs. If any jug gets cloudy or damaged, replace it.
- Heat-aware choices:
- Choose items that tolerate heat: tuna/chicken pouches, jerky, nut and seed butters, plain crackers, shelf-stable fruit cups, and bars without chocolate coatings.
- Keep melt-prone items in a grab tote by the door. They go in the car only when you depart.
- Waste reducer checklist for pantry and water:
- Count how many complete meal units you have for each person. Write the number on an index card in the bin.
- Pair every protein pouch with a starch in the same zip bag so nothing becomes orphaned.
- Keep a manual can opener in the pantry, but prefer pouches to avoid sharp lids in the car.
- Store electrolyte packets in a small tin so they don't get loose in the bin.
- Print a simple rotation log and tape it inside the pantry door: Date, Items Added, Items Eaten, Next Check.
Triage Ladder: First Hour, Same Day, Next Day
Use a simple timing ladder to keep decisions clear when you're tired.
- First hour:
- Park in shade while loading. Pre-chill the cooler with frozen bottles. Stage today's food in the footwell day bag.
- Label everyone's water bottle with name and a halfway line. Put two extra bottles per person in reach pockets.
- Place the cooler in the cabin shade. Cover it with a light towel. Confirm blocks of ice are intact.
- Hand out kid packs only after you pass your first checkpoint to avoid early boredom snacking.
- Same day:
- Eat the most perishable cooler items at the first long stop. Group the cooler opening into one session.
- Mix one electrolyte drink per adult in the afternoon heat. Refill access bottles from trunk jugs during a fuel stop.
- Trash consolidation: fill one heavy-duty bag, tie it, and wedge it in the trunk corner. Wipe hands before and after every meal to prevent stomach trouble later.
- Inventory check at dinner: count remaining meal units and bottles without unpacking. Write the count on painter's tape in the glove box.
- Next day:
- Restock ice at the first open station if you plan to keep any perishables. If ice is not available, stop relying on perishables and switch to shelf-stable only.
- If water has dropped below half a day's need, reduce to sips-with-snacks and prioritize electrolyte use. Plan your next water resupply stop before you merge back into traffic.
- Rotate the day bag: move tomorrow's meals forward, return empties and sticky items to a designated wash bag for later.
Connect Supplies to Real Meals and Use
Make food visible and predictable. Write out actual meals with the supplies you own so no one has to invent a sandwich at mile marker 214.
- Sample 12-hour set per adult:
- Breakfast on the road: granola bar, fruit cup, water.
- Mid-morning: nuts and pretzels, water.
- Lunch: chicken pouch on two tortillas with mustard packet, applesauce pouch, electrolyte drink.
- Afternoon: jerky stick and crackers, water.
- Dinner at a stop: hummus cup with pita chips from the cooler, shelf-stable milk box, water.
- Sample 12-hour set per child:
- Breakfast: cereal cup dry, fruit pouch, water.
- Snack: small trail mix without hard candies, water.
- Lunch: peanut butter squeeze on mini tortillas, applesauce pouch, milk box.
- Snack-treat: lollipop or mints, water.
- Dinner: chicken pouch with crackers, fruit cup, water.
Pack these as labeled zip bags and place them in the day bag. When you hand someone a "Lunch" bag, you avoid rummaging and reduce cooler opens.
Recon Survival Principle
Plan by failure, not by wish list. In a vehicle, cold and access fail first, followed by morale. Build your evacuation food and water around those realities: protect the cold, stage reachable water, and convert pantry items into sealed, hand-sized meals. Trash control, labeling, and rotation keep the system working after the first hour. A calm vehicle is a fed vehicle.
Do Today
- Count your household. Write down a 24-hour target: 1 gallon of water per person plus 2 electrolyte servings each. Stage that amount where you can grab it.
- Build one 12-hour day bag per person with 2 snack bags and 1 no-cook meal. Label each bag with a name and "Today."
- Pre-pack a small console kit: 2 sporks, blunt knife, scissors, napkins, wet wipes, zipper bags, painter's tape, permanent marker.
- Freeze 4-8 water bottles tonight to serve as ice blocks. Store them in the freezer door labeled "Evac Ice."
- Choose a cooler spot in your vehicle. Sit in the back seat and confirm you can reach it without unbuckling. If not, adjust your plan.
- Create a pantry "Car Meals" bin with at least 6 protein pouches, 1 pack of tortillas in a hard container, 8 granola bars that don't melt, 4 fruit cups, and 4 applesauce pouches.
- Strap 2-3 gallon jugs in your trunk with a cam strap or bungee so they can't roll. Practice pouring into a small bottle without spilling using a spout or funnel.
- Print an inventory card listing water, meal units, and electrolyte packets. Tape one copy in the glove box and one inside the pantry bin lid.
- Stage kid packs in seat-back organizers or in a labeled tote by the front door. Include one wet wipe in every pack.
- Add a heavy-duty trash bag and paper towels to the vehicle. Put the trash bag where you can grab it while seated.
- Pick a rotation date each quarter. Put it on your calendar and write it on a sticky note in the pantry: "Car Food Check."
- Do a 15-minute drill in your driveway: load the cooler with frozen bottles, stage the day bag, label waters, and time how long it takes. Adjust your layout based on what was hard to reach.